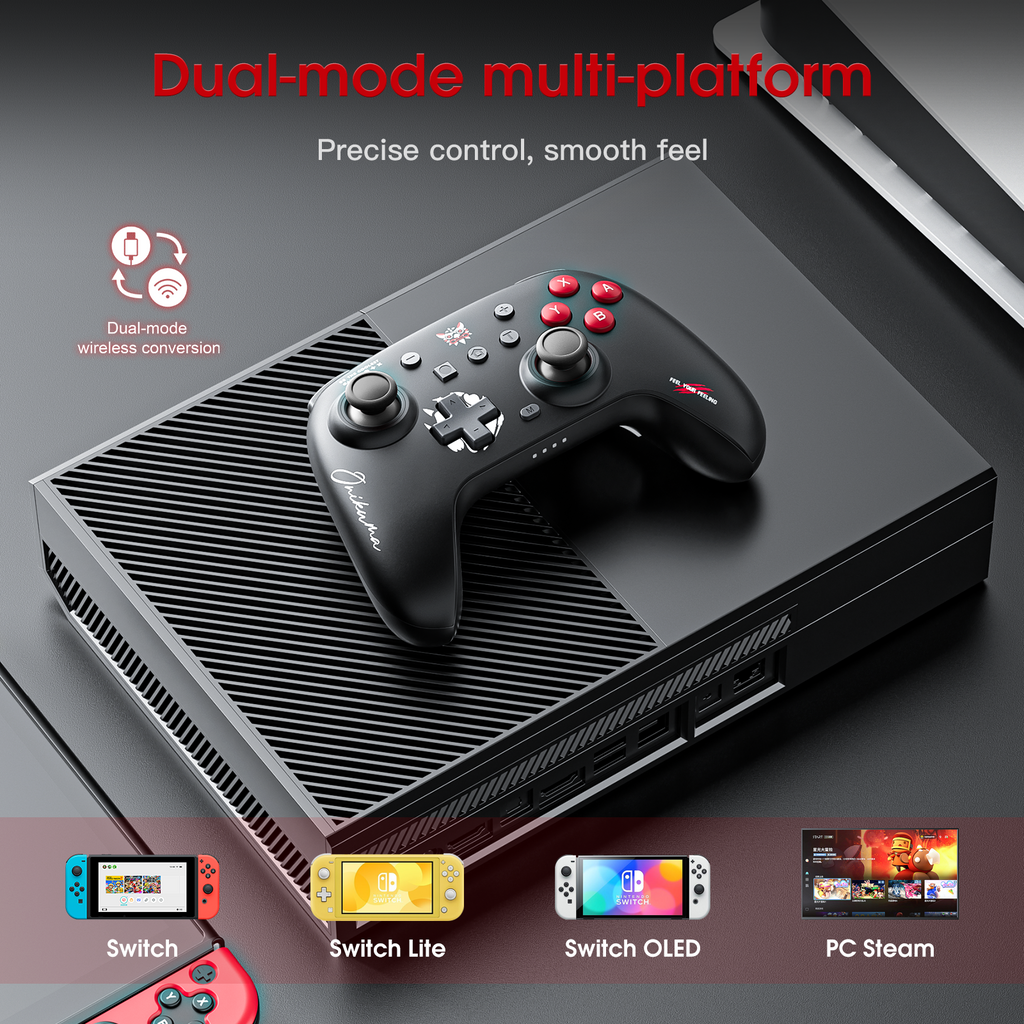
The Onikuma C1 is a wireless controller built primarily around Nintendo Switch and Switch Lite compatibility, with PC support through Bluetooth as well. It packs in a 6-axis gyroscope, dual vibration motors, adjustable turbo, and customizable back paddle buttons for a price well below Nintendo’s own Pro Controller. This walkthrough covers setup and every core feature in the order you would actually use them, from unboxing to your first paired session.
Quick Spec Reference
| Spec | Detail |
| Compatibility | Nintendo Switch, Switch Lite, Switch OLED, and PC |
| Connectivity | Dual-mode Bluetooth wireless plus wired USB-C charging/play |
| Sensors | 6-axis gyroscope, dual Hall-effect analog sticks, Hall-effect triggers (0.1mm accuracy) |
| Battery | 800mAh, roughly 8 hours of play, about 2 hours to fully recharge |
| Extras | Adjustable turbo, dual vibration motors, programmable back paddles, headphone jack, breathing LED |
| Price Tier | Budget third-party controller, priced below Nintendo’s own Pro Controller |
Stage 1: Charge Before First Use
Connect the included USB Type-C cable to the controller’s charging port and to any standard USB power source. Onikuma recommends a full charge before the first session, and the controller can be used while charging once it has enough initial charge to power on. A full charge typically takes around two hours and supports roughly eight hours of continuous play, based on the 800mAh battery used in this model.
Stage 2: Pair with a Nintendo Switch or Switch Lite
- From the Switch HOME Menu, go to Controllers, then Change Grip/Order.
- Press and hold the pairing button on the top of the C1 controller for a few seconds until the indicator lights begin flashing rapidly.
- Wait for the Switch to detect the controller; once paired, the player indicator light on the controller becomes solid rather than flashing.
- The controller supports Switch, Switch Lite, and Switch OLED models with the same pairing process.
Stage 3: Pair with a PC (Steam and Bluetooth)
- Open Windows Settings, go to Devices (or Bluetooth & other devices), and make sure Bluetooth is turned on.
- Select “Add Bluetooth or other device,” then choose “Bluetooth” from the list of device types.
- Hold the pairing button on the C1 until the lights flash rapidly, the same as for Switch pairing.
- Select “ONIKUMA C1” from the list of available devices and complete the pairing prompt.
- In Steam, the controller should be recognized automatically under Big Picture Mode’s controller settings once paired at the Windows level.
Stage 4: Learn the Button Layout
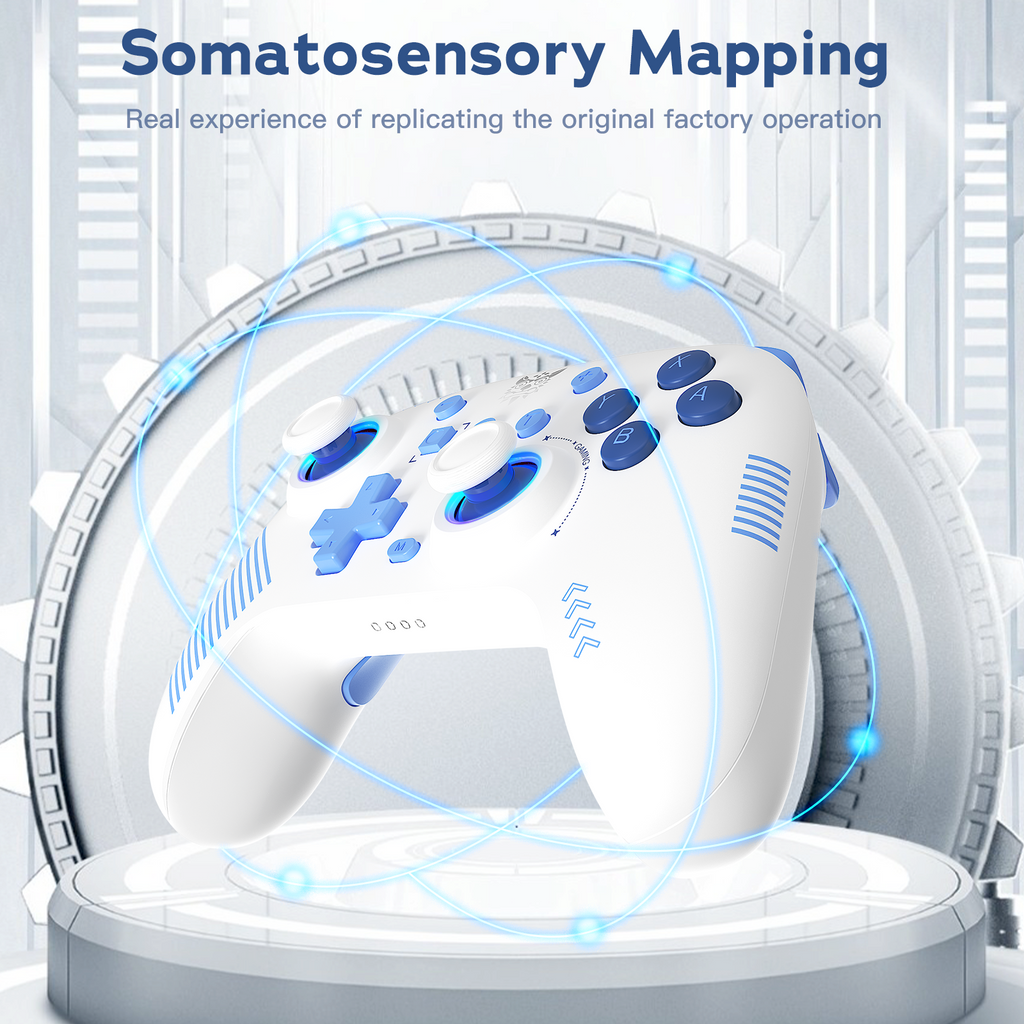
- Left and right analog sticks handle movement and camera control, with a D-Pad for directional input.
- Standard A, B, X, Y face buttons plus L and R shoulder buttons.
- ZL and ZR triggers use full Hall-effect sensors rated at 0.1mm accuracy, which gives smoother analog trigger response than the cheaper mechanical triggers found on some budget controllers.
- Home, Screenshot/Capture, and Plus/Minus buttons match standard Switch controller conventions.
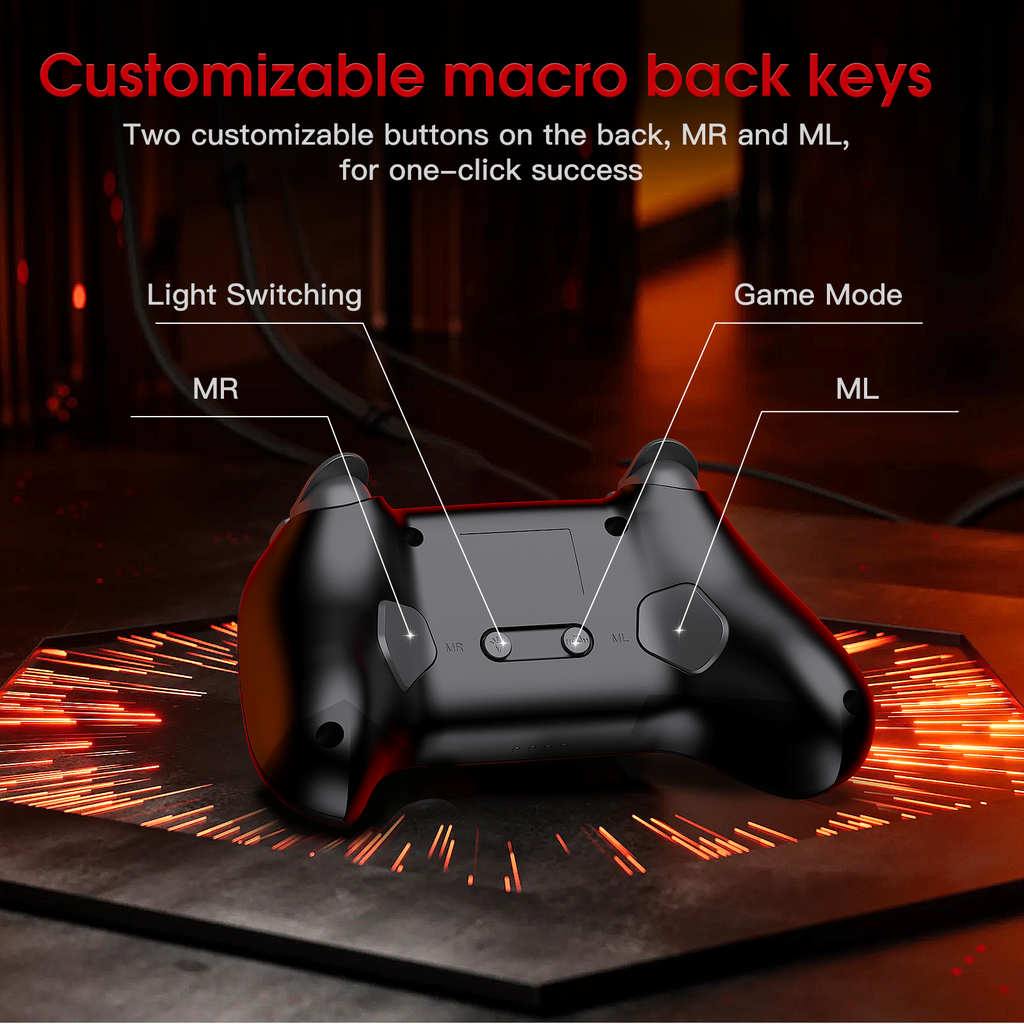
- MR and ML macro buttons on the back of the grip can be mapped through a simple programming mode for one-press execution of button combinations.
Stage 5: Turn On Motion Control
The built-in 6-axis gyroscope adds motion-based aiming and camera control in games that support it, similar to how a standard Joy-Con behaves. Motion control activates automatically in supported titles once the controller is paired; there is no separate toggle needed in most cases, though some games include their own in-game motion sensitivity setting worth adjusting to taste.
Stage 6: Adjust Vibration and Turbo
- The dual vibration motors support multiple intensity levels (weak, medium, strong), adjustable depending on the game or personal preference.
- Turbo functions in both automatic and manual modes, letting you set a button to fire repeatedly without repeated presses — useful for mashing-heavy sections in older games.
- If vibration seems unresponsive, first confirm the specific game supports it, since not every title enables controller vibration by default.
Understanding the LED Indicator
The breathing LED light around the controller serves two purposes: showing charging status while plugged in, and confirming connection status once paired (solid light) versus searching for a device (flashing light). If the light stays off entirely with the controller plugged in, that typically points to either a fully charged battery on some units, or a faulty cable, so it is worth testing a second USB-C cable before assuming a hardware fault.
Common Troubleshooting Steps
- Controller won’t pair: Confirm it is charged, re-enable Bluetooth on the host device, retry the pairing button hold, and move the controller closer to reduce signal interference.
- Buttons feel unresponsive: Verify the pairing connection is active and the battery has sufficient charge, then test in a different game to rule out a game-specific setting.
- No vibration: Check that vibration is enabled both in the game’s settings and is not disabled at the system level.
- RGB lighting won’t turn on: Power-cycle the controller and check that the lighting has not been disabled through a button combination or programming mode by accident.
Onikuma keeps additional documentation and warranty details on their official support page, and the C1’s full product listing with current pricing is on the Onikuma C1 product page.
Frequently Asked Questions
Does the Onikuma C1 work with a Nintendo Switch Lite?
Yes, it is compatible with the original Switch, Switch Lite, and Switch OLED models using the same Bluetooth pairing process.
Can I use the Onikuma C1 wired instead of wireless?
The C1 is primarily a wireless dual-mode controller; the USB-C cable included is used for charging, and the controller can be used while charging, though it is not documented as a dedicated wired-only mode the way some other controllers are.
How do I program the macro buttons on the Onikuma C1?
The MR and ML back buttons support a simple programming mode where you record a sequence of button presses that then fires with a single press of the macro button; the exact key combination to enter programming mode is detailed in the printed manual included in the box.
Does the Onikuma C1 have a headphone jack?
Yes, it includes a headphone jack that allows for wired voice chat, particularly useful when the controller is connected to a Switch for online play.
Conclusion
The Onikuma C1 covers a surprising amount of ground for its price: motion control, Hall-effect triggers, programmable macros, and dual-platform support between Switch and PC. Setup is genuinely quick once you know which pairing menu to use, and most of the day-to-day quirks come down to standard Bluetooth troubleshooting rather than anything specific to this controller.
Written by Derek Okafor, a Seattle-based gaming hardware writer with a background in computer engineering who focuses on accessible reviews of budget controllers and peripherals.