Getting the H9c Connected and Mounted the First Time
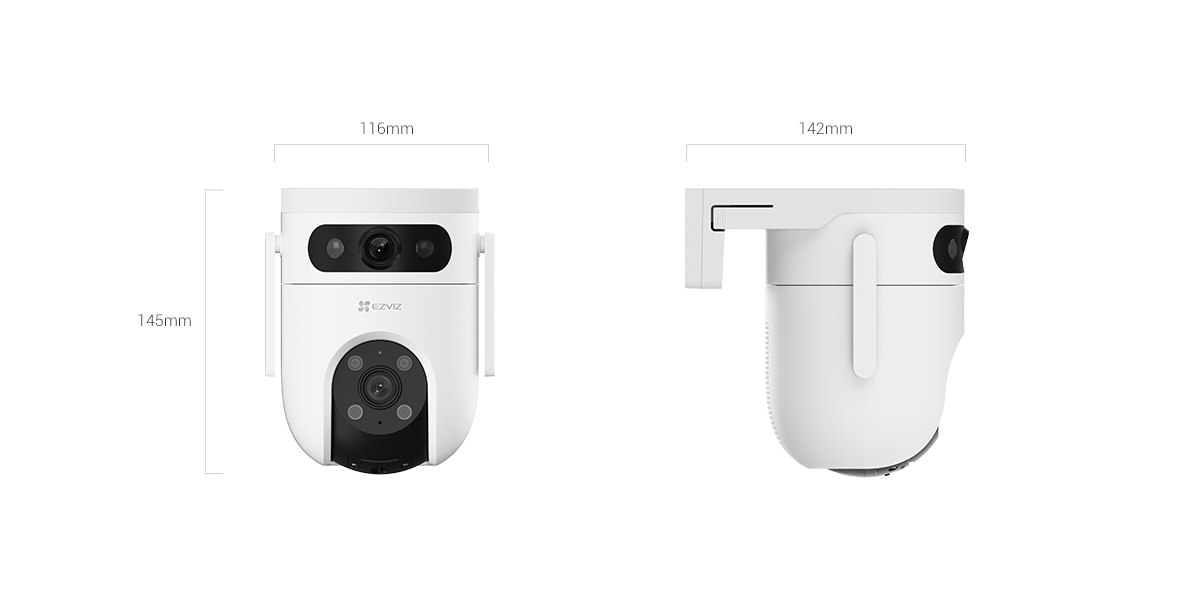
The H9c is a dual-lens camera — a fixed wide-angle lens on top paired with a separate pan-tilt telephoto lens below — which makes setup slightly different from a single-lens camera since the app pairs and calibrates both lenses in sequence. Here’s the full process from unboxing to a working mounted install, plus the issues that trip people up most often.
Budget 20–30 minutes for the full process from unboxing to a mounted, working camera, most of which is the Wi-Fi pairing and calibration steps rather than the physical mounting itself. Doing a dry run on a table before committing to a permanent wall or eave location saves the most time overall, since it catches Wi-Fi or firmware issues while the camera is still easy to move.
Install the EZVIZ App and create an account
Download the EZVIZ App from the iOS or Android app store and create an account if you don’t already have one. This account is what ties the camera, recordings, and any CloudPlay subscription together, so use an email you’ll keep long-term.
Power on the camera and scan the QR code
Plug in the H9c using the included power adapter, then tap the add-device button in the app and scan the QR code printed on the base or in the included quick-start guide. The app will detect the model automatically once the code is read.
Connect to 2.4GHz Wi-Fi
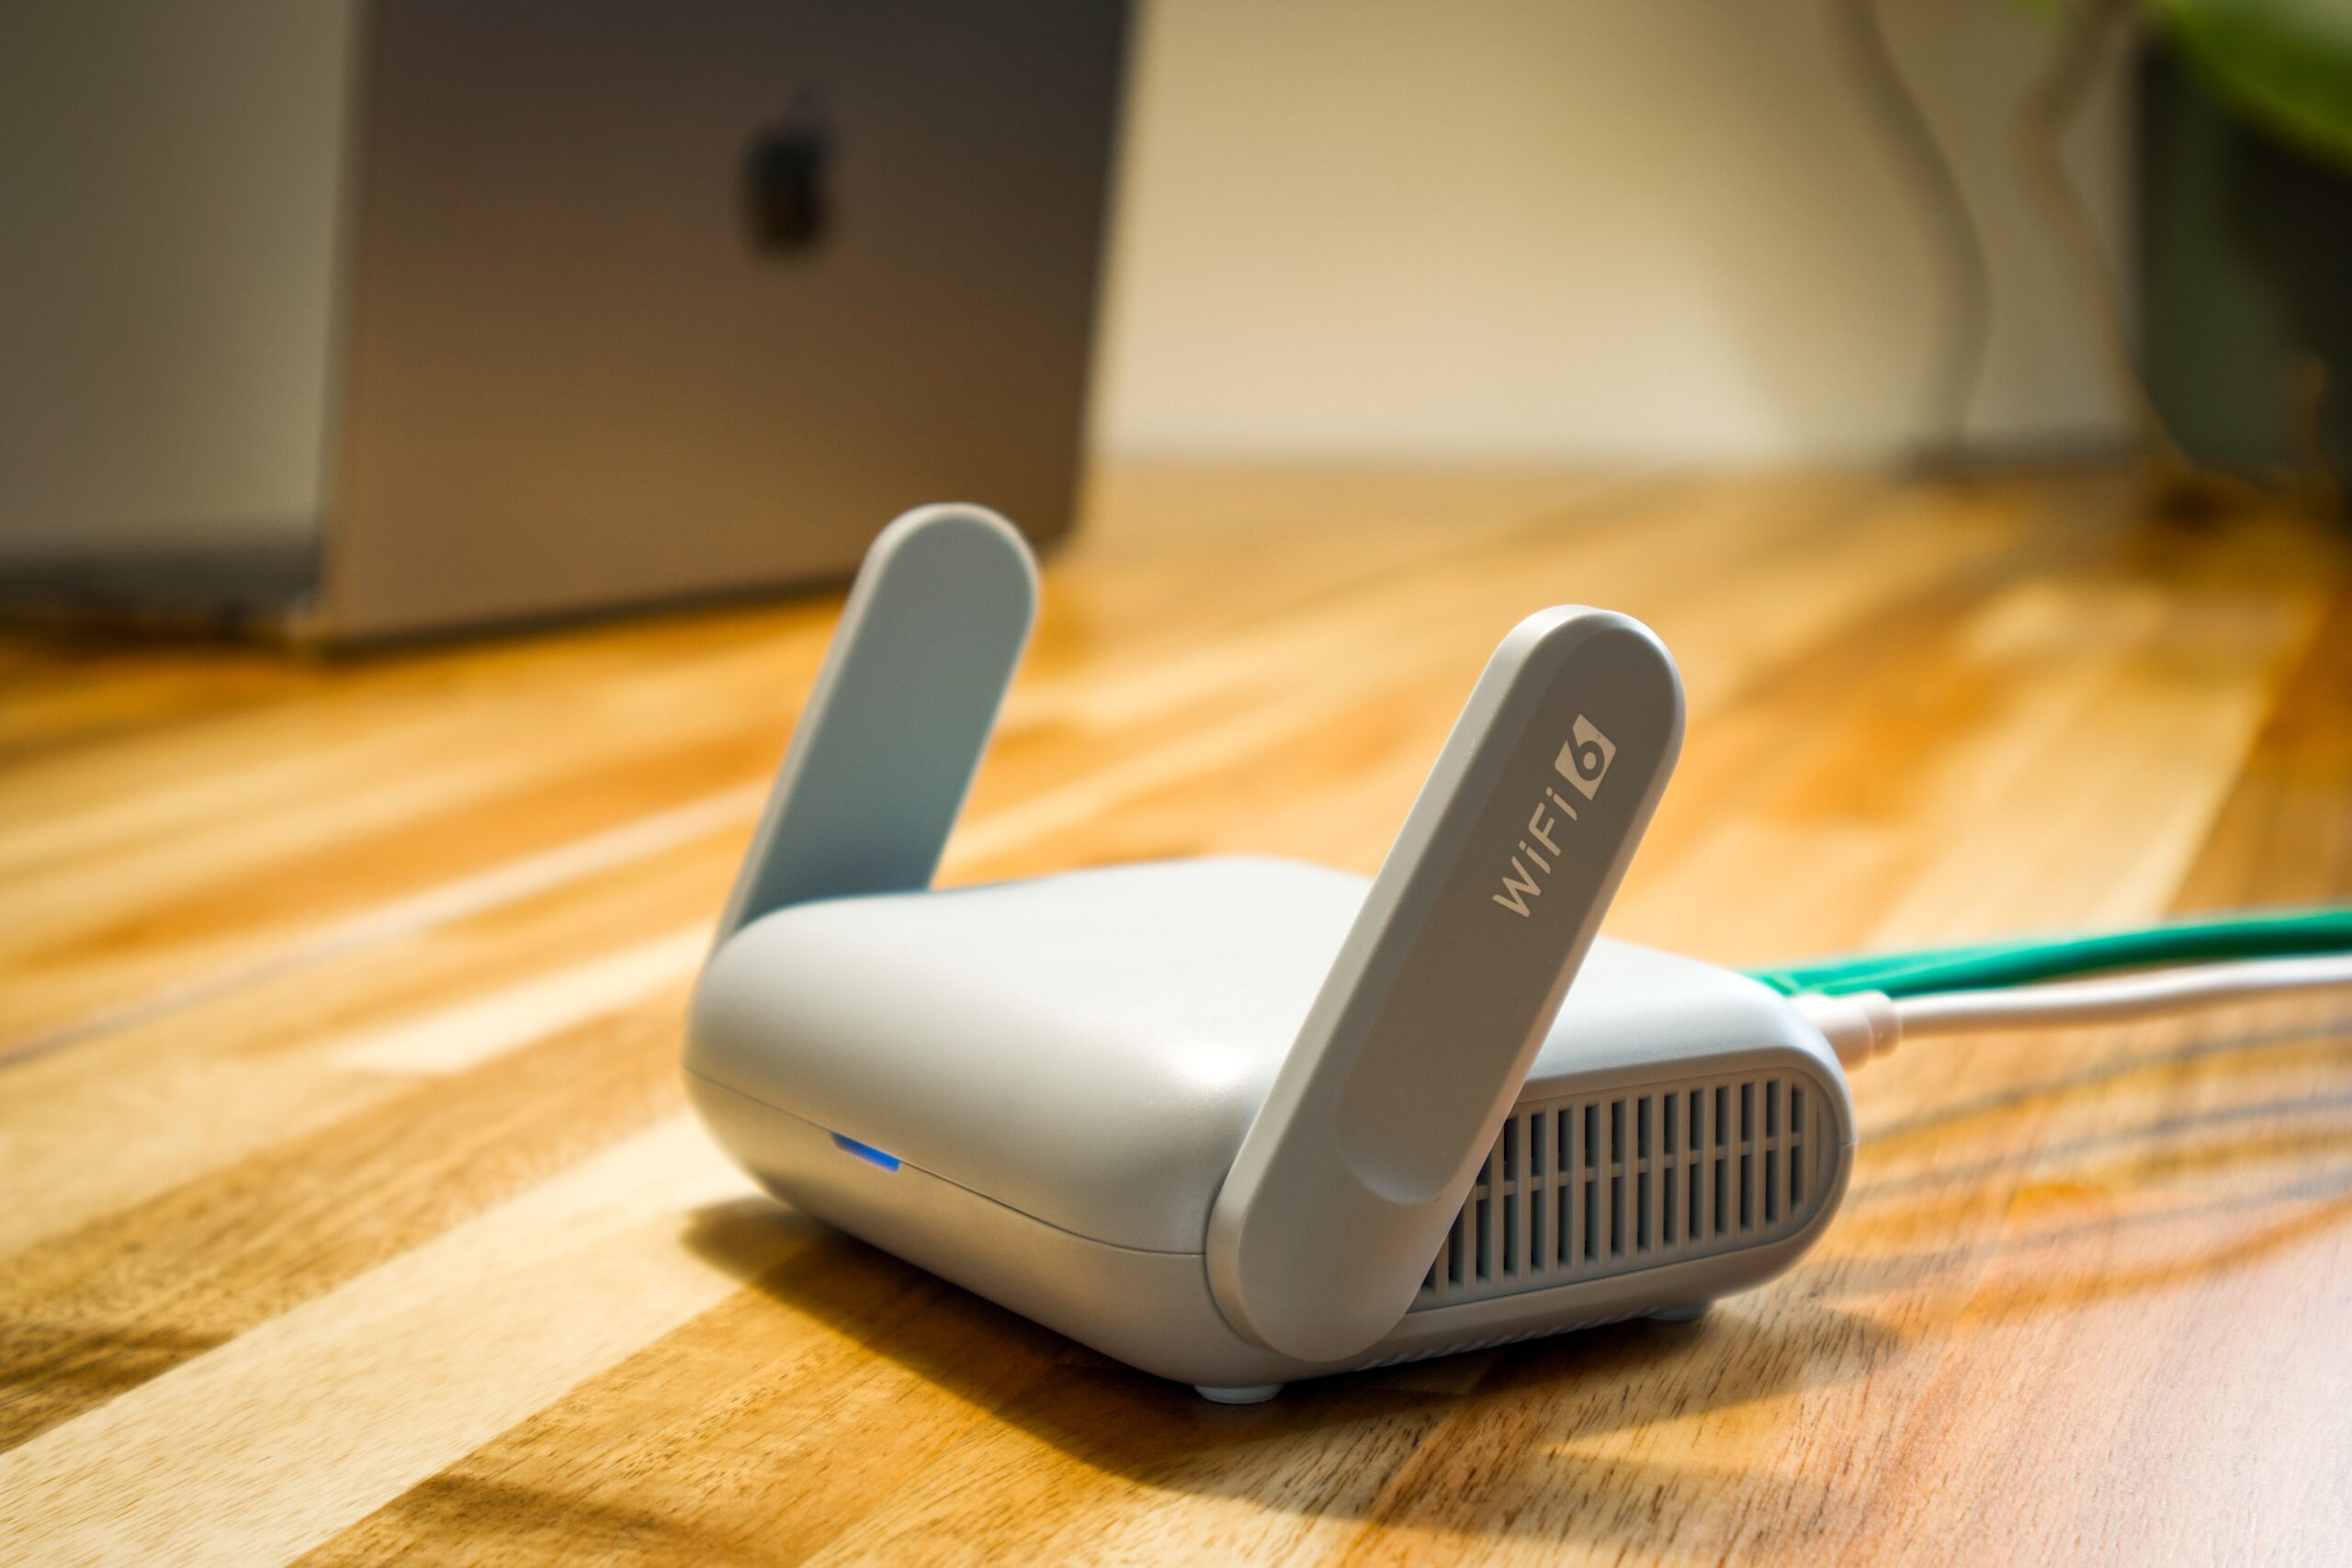
Enter your Wi-Fi password when prompted. The H9c only supports 2.4GHz networks, not 5GHz — on a router broadcasting a single combined SSID, you may need to temporarily split the bands or connect to the specific 2.4GHz network name during setup. Keep the camera close to the router for this step; you can move it to its final mounting spot afterward.
Let both lenses calibrate
Once connected, the app runs a firmware check and calibrates the pan-tilt lens through its full range of motion — this takes a minute or two and the camera will audibly move during this step. Don’t interrupt power during calibration, as this can leave the pan-tilt lens misaligned.
Confirm live view on both lenses before mounting
Open live view in the app and check both the wide top lens and the pan-tilt bottom lens feed. This is the point to catch a weak Wi-Fi signal or a defective unit before committing to a permanent mounting location — repositioning after mounting is far more work than before.
Mount the bracket and route the cable
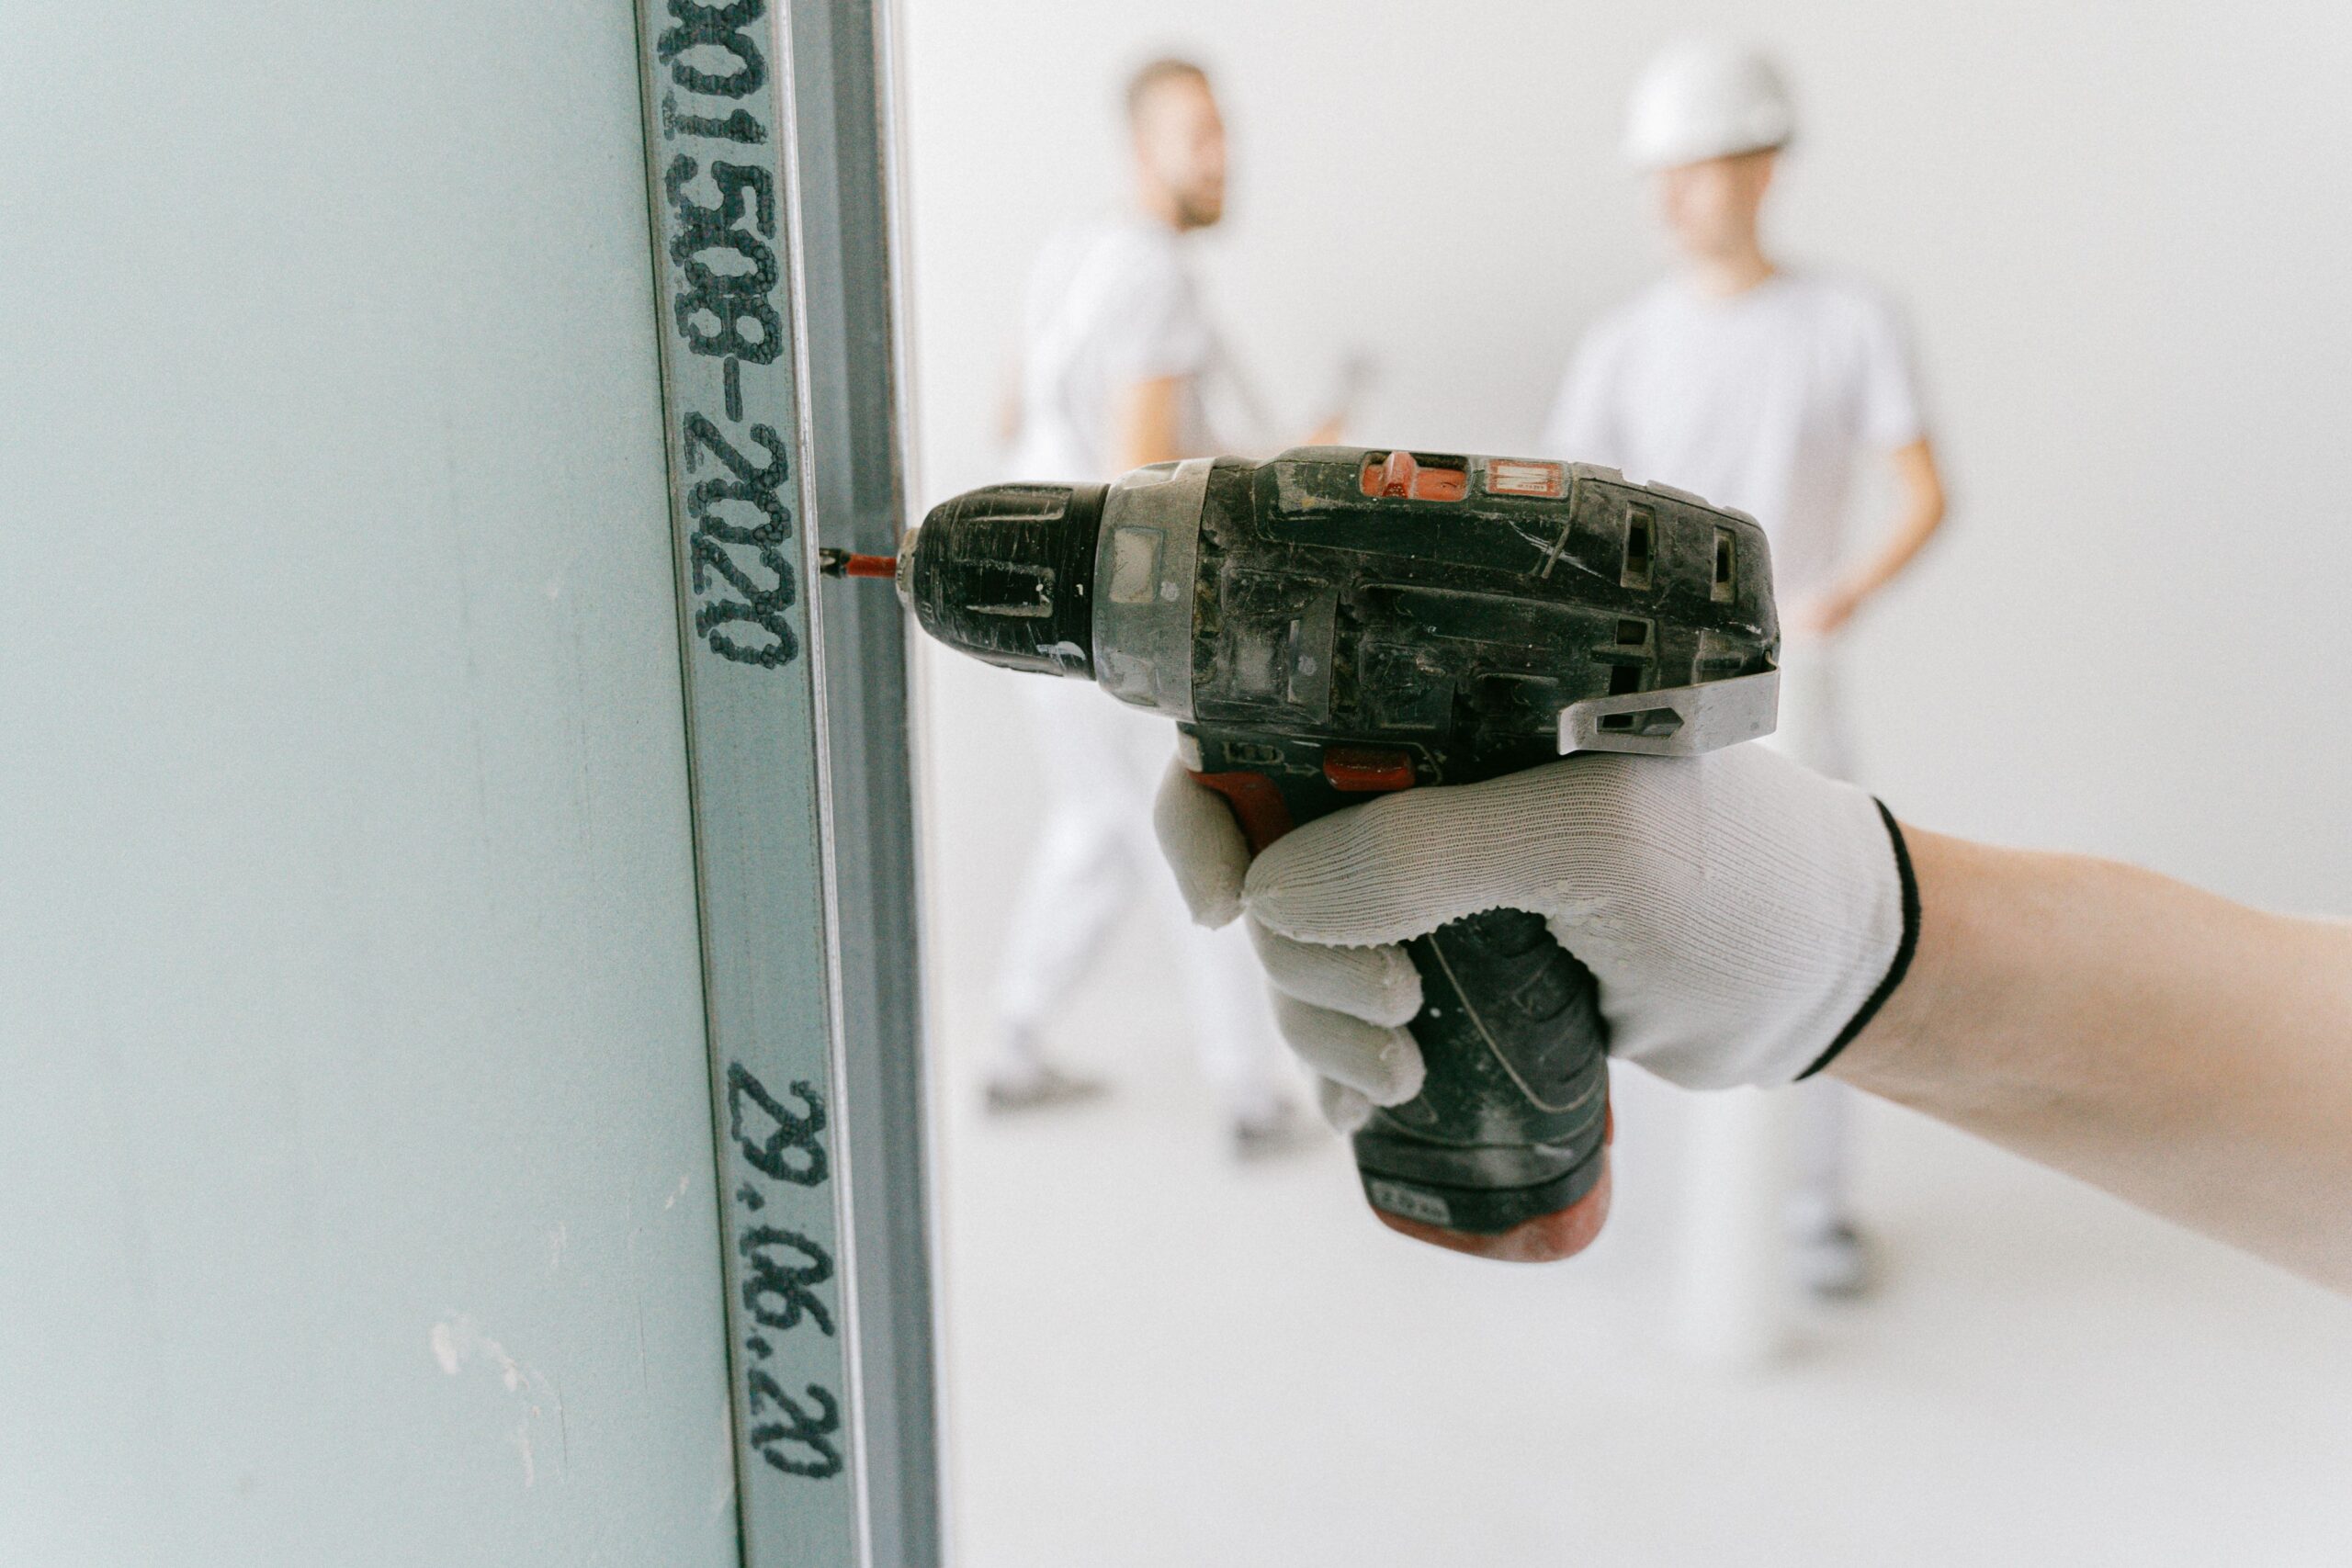
Use the included mounting template to mark screw holes, drill pilot holes for the anchors, and secure the bracket before attaching the camera body. Route the power cable through a drip loop before it enters a wall or junction box so water doesn’t track back into the connector.
Set detection zones and preset points
After final mounting, go back into the app and redraw detection zones for the new angle, and save 2–3 preset positions for the pan-tilt lens. Skipping this step is the most common reason people end up with constant false alerts from a street or a neighbor’s yard.
Choosing Between Wi-Fi and Wired Ethernet
The H9c supports both 2.4GHz Wi-Fi and a wired RJ45 Ethernet connection. Wi-Fi is faster to set up and works fine for most installs within normal router range, but a wired connection is worth the extra cabling effort for a detached garage, a far corner of a property, or any spot where Wi-Fi signal has historically been unreliable. If you plan to run Ethernet, you still need to complete the initial QR-code pairing over Wi-Fi first — the camera won’t accept a wired connection during first-time setup.
Adding a MicroSD Card
If you’re using local storage instead of (or alongside) CloudPlay, insert the microSD card before powering on the camera for the first time, or power it down briefly to insert one later. Format the card from inside the EZVIZ App rather than on a computer — the app applies a filesystem structure the camera reads more reliably, and formatting from a PC is a common cause of recordings silently failing to save.
Common Setup Problems and Fixes
- QR code won’t scan: clean the base sticker or use the code printed in the quick-start guide instead — glare is the most common cause.
- Camera won’t join Wi-Fi: confirm it’s a 2.4GHz network; the H9c cannot see 5GHz-only SSIDs.
- Pan-tilt lens stuck after calibration: power-cycle the camera and let it re-run the calibration sequence without interruption.
- App shows camera offline after mounting: weak signal at the final location is the most likely cause — check signal strength in the app before finalizing the mount, or add a Wi-Fi extender near the install spot.
- Constant false motion alerts: redraw detection zones after mounting and enable human/vehicle-only filtering instead of general motion detection.
Frequently Asked Questions
Do I need to mount the camera before finishing setup?
No, it’s better to complete Wi-Fi pairing and confirm live view first, then mount afterward once you know the signal and image are good.
Can I use the H9c without a microSD card?
Yes, live view and app notifications work without one, but you’ll need a card or a CloudPlay subscription to keep recorded footage.
Does the setup process differ between the H9c variants (2K, 3K, 4G)?
The core pairing steps are the same across variants; the 4G version adds a SIM card step before Wi-Fi setup if you’re using cellular data instead of Wi-Fi.
How long does the initial calibration take?
Usually one to two minutes, though a slow Wi-Fi connection during the firmware check can extend this.
Can two people manage the same H9c from different phones?
Yes, using the share-access feature in the app’s account settings rather than logging into the same account on multiple devices.
What should I do before contacting EZVIZ support?
Note the exact firmware version (found in device settings), confirm the router band and Wi-Fi signal strength shown in the app, and try a full power cycle first — these are the first three things support will ask for, so having them ready speeds up any ticket considerably.
Ryan
CS degree · 15 years hardware troubleshooting