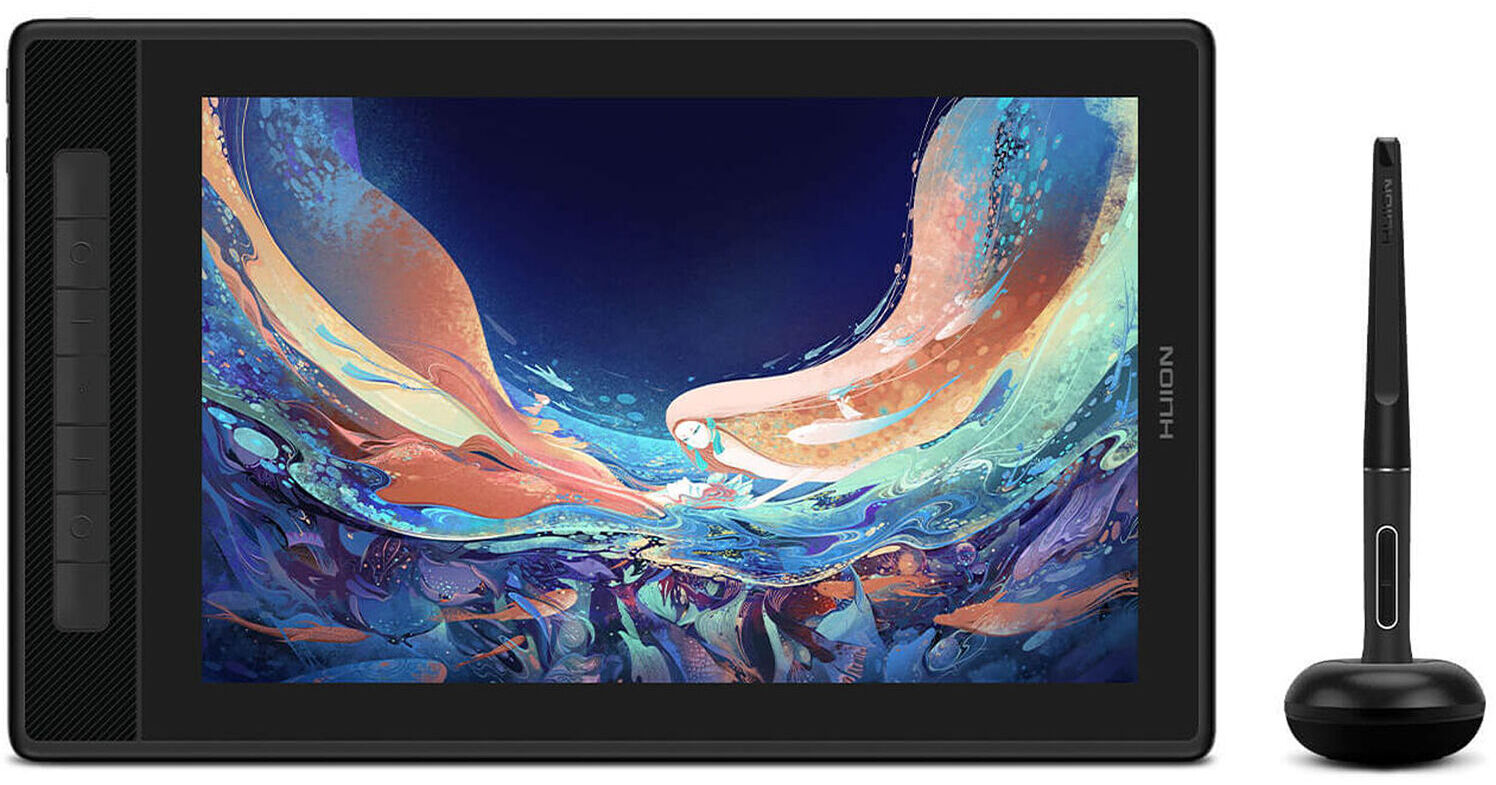
You can get the Huion Kamvas Pro 13 working on your PC by downloading the driver package straight from Huion’s official site, then running the installer with the pen display already plugged in. This guide walks through the exact steps, plus what to do when the tablet is detected but the pen does not respond, or when the screen shows no signal at all.
The Kamvas Pro 13 is a 13.3-inch pen display with a 2.5K screen, and unlike a plain drawing tablet it needs both a video connection and a driver to translate pen pressure into brush strokes in your art software. I have set up two of these units for friends who switched from a mouse-only workflow, and in both cases the actual driver install was quick — the confusing part was Windows treating the display as a second monitor instead of mirroring the desktop correctly.
Where to download the correct driver
Go to the Huion official download page and search for “Kamvas Pro 13 (2.5K)”. Do not use a driver meant for the older non-2.5K Kamvas Pro 13, since the touch bar and pen calibration data are different between revisions.
- Confirm your exact model — check the small label on the back of the display, since Huion sells several “Kamvas Pro 13” variants.
- Choose the Windows or macOS package depending on your system.
- Download the ZIP, extract it fully before running the installer — running it directly from inside the ZIP viewer can cause the install to fail silently.
Installing the driver step by step
- Unplug the Kamvas Pro 13 from your PC before installing anything.
- Open Device Manager and remove any older Huion or generic “USB Input Device” entry left over from a previous tablet.
- Run the downloaded Huion driver installer as administrator.
- Restart the computer once installation finishes — this step is easy to skip, but the driver service does not fully register until reboot.
- Connect the USB-C cable (or the included USB-C to USB-A/HDMI cable set) and wait about ten seconds for Windows to recognize the new display.
- Open the Huion Tablet driver app, confirm the pen display is listed, and run the pen pressure test in the app to check it responds.
On one of the two units I set up, the pen display showed a black screen for almost a minute after connecting — this is normal on first connect while Windows negotiates the display signal, so give it time before assuming the cable is faulty.
Per Daniela R., who is a Freelance Illustrator on G2, “The Kamvas Pro 13 driver was easy to set up once I found the right download page — my only tip is to always remove old tablet drivers first.”
Fixing common problems after install
If the screen lights up but the pen does not draw, check these in order:
- Pen not detected: open Device Manager, expand “Human Interface Devices”, and look for a yellow warning icon. If present, right-click and choose “Update driver”, then point it at the extracted Huion driver folder instead of letting Windows search automatically.
- No signal on screen: try a different USB-C or HDMI port, and confirm the cable actually supports video, not just charging.
- Pressure sensitivity not working in software: some art programs need the Windows Ink option toggled in the Huion driver app before pressure is recognized properly.
- Screen shows as a mirrored image instead of an extension: open Windows display settings and set the Kamvas Pro 13 to “Extend these displays”, then map the pen to that specific screen inside the Huion driver app.
If none of that works, uninstall the driver completely through Windows “Add or remove programs”, delete any leftover Huion folder in Program Files, then reinstall from a freshly downloaded copy — corrupted downloads are a common but overlooked cause of drivers that “install” but never actually load.
Manual install without the full driver package
If the installer itself refuses to run (this can happen on locked-down work laptops), you can still get basic pen function through Windows’ generic HID driver. Plug in the display, let Windows install the default pen support automatically, then manually update the driver later from Device Manager by pointing it at the extracted INF file inside the Huion download package. You lose pressure customization this way until the full driver installs, but it lets you keep working in the meantime.
Frequently Asked Questions
Does the Kamvas Pro 13 work without installing a driver?
It will show a picture and accept basic clicks through Windows’ generic driver, but pen pressure, tilt, and the side buttons need Huion’s own driver to work.
Why does my Kamvas Pro 13 show up as a second monitor with no pen input?
This usually means the driver is not installed yet, or the pen has not been mapped to that display inside the Huion Tablet app. Open the app and check the display mapping setting.
Is the Kamvas Pro 13 driver the same on Windows 10 and Windows 11?
Huion publishes one combined installer that supports both, but always download the latest version since older releases sometimes have compatibility issues with newer Windows builds.
Can I use the Kamvas Pro 13 with a laptop that only has USB-A ports?
Yes — the box includes a USB-C to USB-A/HDMI cable specifically for this, though performance and reliability are usually best over a direct USB-C connection if your laptop supports it.
The driver installed but the touch bar and side buttons do nothing – why?
Open the Huion Tablet driver app and check that the correct device is selected in the top device list – on multi-tablet setups the app sometimes defaults to the wrong device, so button mapping saves to the wrong profile.
Conclusion
Getting the Kamvas Pro 13 running smoothly comes down to using the exact right driver for your model and giving Windows a proper reboot after installing it. If pen pressure still misbehaves after that, work through the Device Manager and display-mapping checks above one at a time rather than reinstalling repeatedly, since a fresh reinstall over a broken one rarely fixes anything on its own.
Ryan
CS degree · 15 years hardware troubleshooting