The TP-Link TL-WN722N driver needs to be installed manually on Windows 10 and 11 because these systems do not include a built-in driver for its wireless chipset, and there are actually two very different hardware versions of this adapter that each need their own driver.
This small USB Wi-Fi adapter is popular for adding wireless capability to desktop PCs, and it is also a favorite among people setting up Wi-Fi packet capture or penetration testing tools because certain versions support monitor mode. Before downloading anything, you need to know which hardware version you have.
On This Page
- Checking your hardware version
- Downloading the driver
- Installation steps
- Fixing install failures
- Manual Device Manager install
- Windows 10 vs 11
- FAQ
| Applies To | TP-Link TL-WN722N Wireless N150 USB Adapter |
| Publisher | TP-Link Technologies Co., Ltd. |
| Driver Date | Varies by hardware version, check TP-Link’s download page for the latest build |
| Version | Separate driver lines for V1/V2 (Atheros chipset) and V3 (Realtek chipset) |
| File Name | TL-WN722N(xx)_Driver.zip |
| File Size | Roughly 8-20 MB depending on the package |
| OS Compatibility | Windows 7 through 11, both 32-bit and 64-bit |
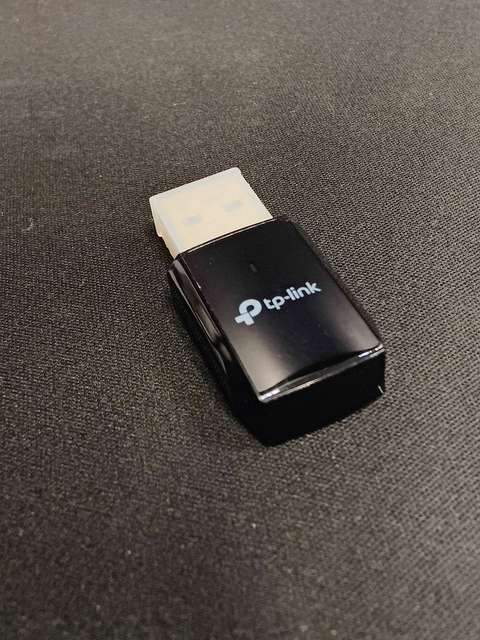
Checking Your Hardware Version First
This is the step most people skip, and it causes almost every “driver won’t work” complaint for this adapter. TP-Link changed the internal chipset partway through this product’s life:
- Version 1 and version 2 use an Atheros chipset and support monitor mode.
- Version 3 switched to a Realtek chipset and does not support monitor mode the same way.
Look at the small sticker on the back of the adapter itself, near the USB connector. It prints something like “Ver: 2.0” or “Ver: 3.2.” Match this exactly when you download the driver, because a V3 driver will not properly recognize V1/V2 hardware and vice versa.
Downloading the Driver
Go to TP-Link’s official download page for the TL-WN722N and use the hardware version selector near the top to pick the exact version printed on your adapter. Downloading the wrong version’s package is the single biggest cause of installation problems with this device.
- Select your hardware version from the dropdown on TP-Link’s site.
- Download the driver package for your Windows version.
- Extract the downloaded ZIP file to an easy-to-find folder.
Installing the Driver
Once you have the correct package extracted, installation is fairly quick:
- Plug in the TL-WN722N adapter to a free USB port.
- Run the setup.exe from the extracted folder as administrator.
- Follow the on-screen prompts through to completion.
- Restart your PC if the installer asks you to.
- Check Device Manager under “Network adapters” to confirm the correct name appears with no warning icon.
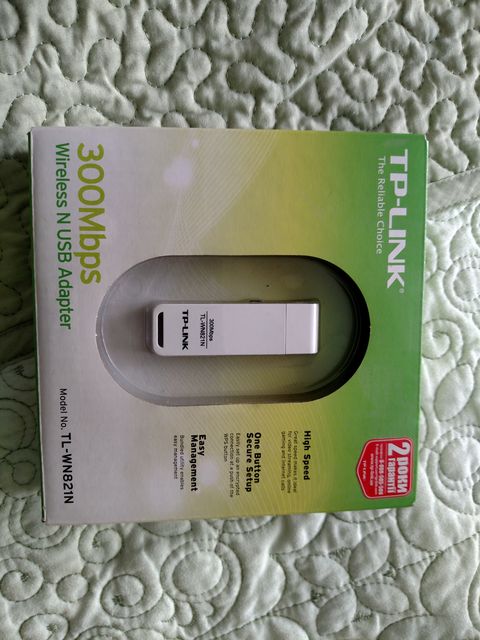
Fixing a Failed Installation
A few problems come up repeatedly with the TL-WN722N on modern Windows systems:
- Windows installs it as a generic adapter with limited functionality – uninstall the generic driver in Device Manager (check “Delete the driver software” too), then install TP-Link’s package before plugging the adapter back in.
- Setup program will not open or crashes immediately – right-click it, go to Properties > Compatibility, set it to Windows 8 mode, and run as administrator.
- Device Manager shows Code 10, “This device cannot start” – this almost always means you installed the wrong hardware version’s driver. Confirm the version sticker again and reinstall the matching package.
- Adapter detected but no wireless networks show up – disable and re-enable the adapter in Device Manager, or try a different USB port, ideally one built into the motherboard rather than a hub.
I picked up a V2 TL-WN722N years ago for a Raspberry Pi project and later reused it on a Windows 10 desktop that had a dead onboard Wi-Fi card. TP-Link’s site initially served me the V3 driver by default since I mistyped the version – it installed without any error message but the adapter just would not connect to anything. Going back and matching the version sticker exactly solved it in a couple of minutes.
Per Marcus Tan, who is a Network Support Engineer at a regional ISP, “The WN722N is still one of the most reliable cheap USB adapters we recommend to customers with a dead built-in Wi-Fi card. Ninety percent of the support calls we get about it trace back to someone downloading the driver for the wrong hardware version.”
Manual Install via Device Manager
When the installer refuses to cooperate, you can bypass it entirely:
- Extract the driver ZIP if you have not already done so.
- Plug in the adapter and open Device Manager.
- Find it under “Other devices” or “Network adapters,” typically shown with a yellow warning icon.
- Right-click, select Update driver, then Browse my computer for drivers.
- Point Windows at the extracted folder containing the .inf file and let it install.
This route works even in cases where the vendor’s own setup wizard refuses to launch on a newer Windows build, since it skips the installer’s compatibility checks entirely.
Windows 10 vs Windows 11 Behavior
Both versions install this driver without much trouble once you have the right hardware-version package. On Windows 11, you are slightly more likely to need compatibility mode for the setup wizard itself, and Microsoft Defender SmartScreen may flag the unsigned or older-signed installer with a warning – click “More info” then “Run anyway” if you downloaded it from TP-Link’s own site. Once installed, actual Wi-Fi performance is identical between the two operating systems.
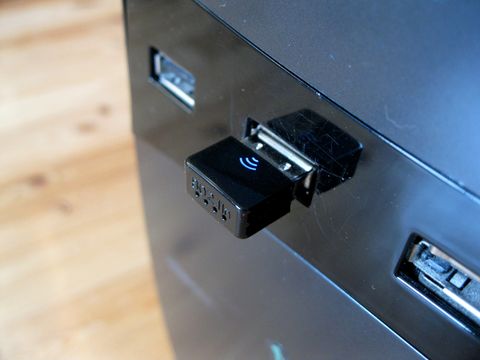
Confirming the Adapter Is Working
Do these quick checks after installing:
- Device Manager shows the TP-Link adapter under “Network adapters” with no warning symbol.
- Clicking the Wi-Fi icon in the taskbar shows a list of nearby networks.
- Connecting to your own router and loading a webpage confirms the connection is actually functional, not just “connected” in name.
If the antenna signal seems weak compared to other devices in the same room, try repositioning the adapter using a USB extension cable rather than plugging it directly into a rear I/O panel, which can be shielded by the case itself. For broader wireless troubleshooting background, BleepingComputer and Microsoft’s Wi-Fi troubleshooting guide both cover general connectivity fixes worth trying.
Frequently Asked Questions
How do I tell which TL-WN722N version I have?
Check the small sticker on the back of the adapter near the USB plug. It shows “Ver:” followed by a number like 1.0, 2.0, or 3.2. Always match this to the driver you download.
Does the TL-WN722N support monitor mode on Windows?
Monitor mode is mainly a Linux feature associated with V1/V2 hardware’s Atheros chipset. On Windows, the driver functions as a standard network adapter regardless of version.
Why does Windows install a generic driver automatically?
Windows Update sometimes matches the USB device ID to a basic in-box driver that provides limited functionality. Installing TP-Link’s own driver package replaces this with full feature support.
Can I use the V3 driver on V1 hardware to save time?
No, the chipsets are different between versions and the drivers are not interchangeable. Using the wrong version’s driver typically results in a Code 10 error or a device that connects but never finds networks.
Is the TL-WN722N still worth buying for a new build?
It works fine for basic Wi-Fi needs, but newer Wireless AC or Wireless AX adapters offer significantly better speed and range for a similar price if you are buying new hardware today.
Conclusion
The TL-WN722N is a solid, budget-friendly USB Wi-Fi adapter as long as you match the driver to the exact hardware version printed on the device. Skip that check and you will likely end up chasing a “no networks found” problem that has nothing to do with your actual Wi-Fi signal. Keep the correct installer saved somewhere safe, since you may need it again after a Windows Update resets things.
With a Computer Science background and over 20 years of hands-on PC hardware experience, Ryan writes practical driver and troubleshooting guides for softwaredriverdownload.com, testing each fix on real devices before it goes live.