You can download the Logitech C170 webcam driver directly from Logitech’s support page, or let Windows install it automatically through Windows Update since the C170 uses the standard USB Video Class (UVC) driver built into Windows.
The Logitech C170 is a budget webcam that has been sold for a long time, and a lot of readers still use it for basic video calls, online classes, or simple recording. Because it is a UVC-compliant device, most people never need to install anything extra. But Logitech also has an optional software package that unlocks a few extra features, and this guide covers both paths plus what to do when Windows does not recognize the camera at all.
Applies To: Logitech C170 USB Webcam
Author/Publisher: Logitech
Driver/Software Date: Most recent Logitech G HUB / Webcam Software release
Version: Windows native UVC driver (no dedicated driver needed); Logitech Camera Settings app for extra controls
File Name: LogitechCameraSettings.exe
File Size: Approximately 45-60 MB
OS Compatibility: Windows 10, Windows 11 (32-bit and 64-bit)
Why the C170 Usually Does Not Need a Separate Driver
The C170 sends standard UVC video, so Windows treats it the same way it treats almost every other USB webcam. When you plug it in, Windows loads its own built-in class driver, and the camera should show up in apps like Zoom, Skype, or the Camera app within a few seconds. There is no dedicated “.inf” driver from Logitech for this model, which surprises some people who expect a full installer.
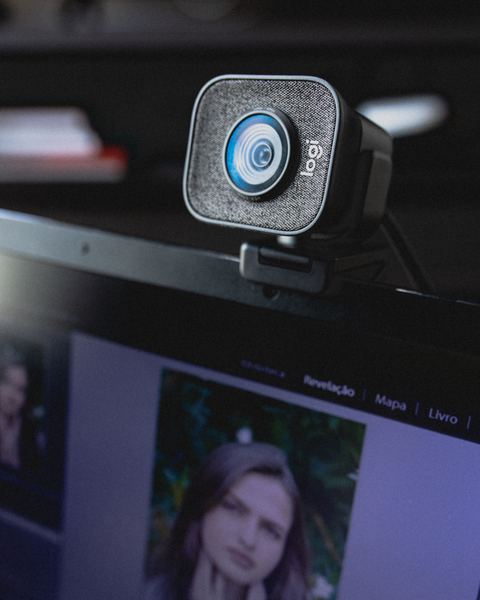
I have set up this exact camera for a relative a few years back, and the whole process took less than a minute. Plug in, wait for the “Setting up device” notification in the bottom right corner, and it was ready. If you want extra controls like pan/zoom cropping, right-light correction, or color settings, that is where the optional Logitech Camera Settings software comes in.
Downloading and Installing the Optional Software
- Go to the official Logitech C170 support page.
- Select your Windows version (10 or 11).
- Download the Logitech Camera Settings application listed under Downloads.
- Run the installer as Administrator and follow the on-screen prompts.
- Restart your PC if prompted, then plug the C170 back in.
The software gives you sliders for brightness, contrast, and a basic auto-focus toggle (although the C170 itself is a fixed-focus camera on most units, so that option may be greyed out). It also lets you save a couple of preset views if you like recording from the same angle each time.
Manual Install Through Device Manager
If Windows fails to recognize the C170 automatically, you can point it to the driver manually:
- Right-click the Start button and choose Device Manager.
- Expand Cameras, or check under Sound, video and game controllers, or Other devices if it shows up with a warning icon.
- Right-click the C170 entry (it may just say “USB Video Device”) and choose Update driver.
- Select “Search automatically for drivers” first.
- If that fails, choose “Browse my computer for drivers” and let Windows pick from the built-in USB Video Device class driver list.
In almost every case, letting Windows search automatically is enough, since the UVC driver already ships with the operating system. You generally only need the manual route when a Windows update has corrupted the USB stack or a third-party camera app blocked the driver from loading properly.
Windows 10 vs Windows 11 Differences
On Windows 10, the camera usually appears immediately in Settings > Privacy > Camera and in the Camera app without extra steps. On Windows 11, Microsoft added stricter per-app camera permission prompts, so even after the hardware is detected correctly, an app like Zoom or Microsoft Teams might still show a black screen until you approve camera access for that specific app. Check Settings > Privacy & security > Camera and make sure both “Camera access” and the toggle for the individual app are turned on.
Per Daniel Wu, who is an IT Support Technician at a community college help desk, “Half the ‘broken webcam’ tickets I get are not actually broken hardware, they are just Windows 11 blocking camera access for that one app. Once we flip the permission toggle, the C170 works exactly as it did before.”
Troubleshooting a Failed Install
If the C170 is not detected, or shows a yellow warning triangle in Device Manager, work through these steps in order:
- Unplug the webcam and plug it into a different USB port, preferably directly on the motherboard rather than through a front-panel hub.
- Test the camera on another computer if you have one available, to rule out a hardware fault.
- Open Device Manager, uninstall the device entry (check “Delete the driver software” if offered), unplug the camera, restart the PC, then plug it back in.
- Run Windows Update and install any pending optional driver updates.
- Temporarily disable third-party antivirus software, since some security suites block camera access at the driver level.
- Check that no other application (another video call app running in the background) is already holding the camera open.
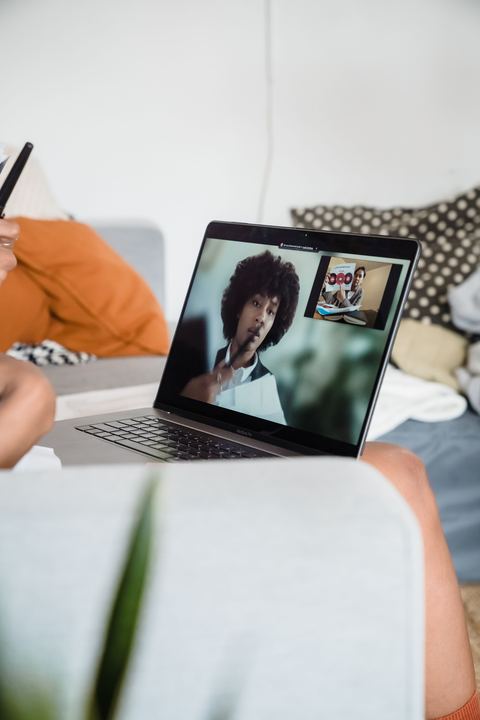
I once spent nearly twenty minutes chasing a “camera in use by another app” error on a friend’s laptop, only to find a browser tab with an old Google Meet call still running in the background. Closing that tab fixed it instantly. It is worth checking the obvious things before assuming the hardware itself has failed.
Improving Video and Audio Quality
The C170 has a built-in microphone, but it picks up a lot of room noise since there is no noise-cancelling processing on this budget model. A few quick tips:
- Sit facing a window or lamp so the fixed-focus lens has enough light; this camera struggles badly in dim rooms.
- In your call app’s audio settings, enable any built-in noise suppression feature, since the C170 itself does not do this in hardware.
- Keep the USB cable away from other cables and power bricks to reduce interference-related dropouts.
- If image quality still looks blurry, gently clean the lens; the plastic lens on this model scratches and smudges more easily than glass ones.
For more detail on how Windows manages UVC camera drivers generally, Microsoft’s own support documentation is a reliable reference point, and sites like How-To Geek cover webcam troubleshooting from a general Windows angle as well.
Frequently Asked Questions
Does the Logitech C170 work without installing any software?
Yes. It uses the standard UVC driver built into Windows, so plugging it in is normally enough. The optional software only adds extra camera settings controls.
Why does my C170 show up but the image is black?
This is almost always a permissions issue on Windows 11, or another application already holding the camera. Check Settings > Privacy & security > Camera, and close any other apps that might be using the camera.
Can I use the Logitech C170 with Windows 11 on ARM devices?
Generally yes, since UVC and UAC (audio) class drivers are part of the standard driver stack regardless of processor architecture, though performance can vary by device.
Where can I download the official Logitech Camera Settings software?
Directly from the official Logitech support page for the C170, listed under the Downloads tab for your Windows version.
My C170 stopped working after a Windows update. What should I do?
Uninstall the device in Device Manager, restart the PC, and let Windows reinstall the driver automatically when you reconnect the camera. Running Windows Update again to catch any optional driver patch usually resolves post-update regressions.
Conclusion
The Logitech C170 is about as plug-and-play as webcams get, since it relies on Windows’ own UVC driver rather than a proprietary one. Most installation problems trace back to USB ports, camera permissions, or another app hogging the device rather than a missing driver. Keep the tips above handy and you should have the camera working again within a few minutes.
Written by Ryan, who holds a Computer Science degree and has spent more than 20 years working hands-on with PC hardware and driver troubleshooting. For more driver guides and hardware how-tos, visit softwaredriverdownload.com.