If you just unboxed a JGAurora printer — an A5, A3S, or one of the older A-series machines — you have probably searched for “JGAurora software” and come up with mixed answers. Here is the honest version: JGAurora never built a single proprietary slicer of its own. The disc or download link that ships with the printer is a rebadged copy of Cura, and most owners eventually switch to a current, independently maintained slicer instead. That is not a knock on the printer — it is just how a lot of budget and mid-range FDM machines work, and once you understand the pieces involved, setting one up only takes a few minutes.
I have set up two different JGAurora machines for friends over the years, and both times the confusion was the same: people expected a dedicated app and instead found a Cura clone with a printer profile baked in. This guide walks through what software actually controls the printer, how to get a correct machine profile into a modern slicer, and how to update firmware without bricking the board.
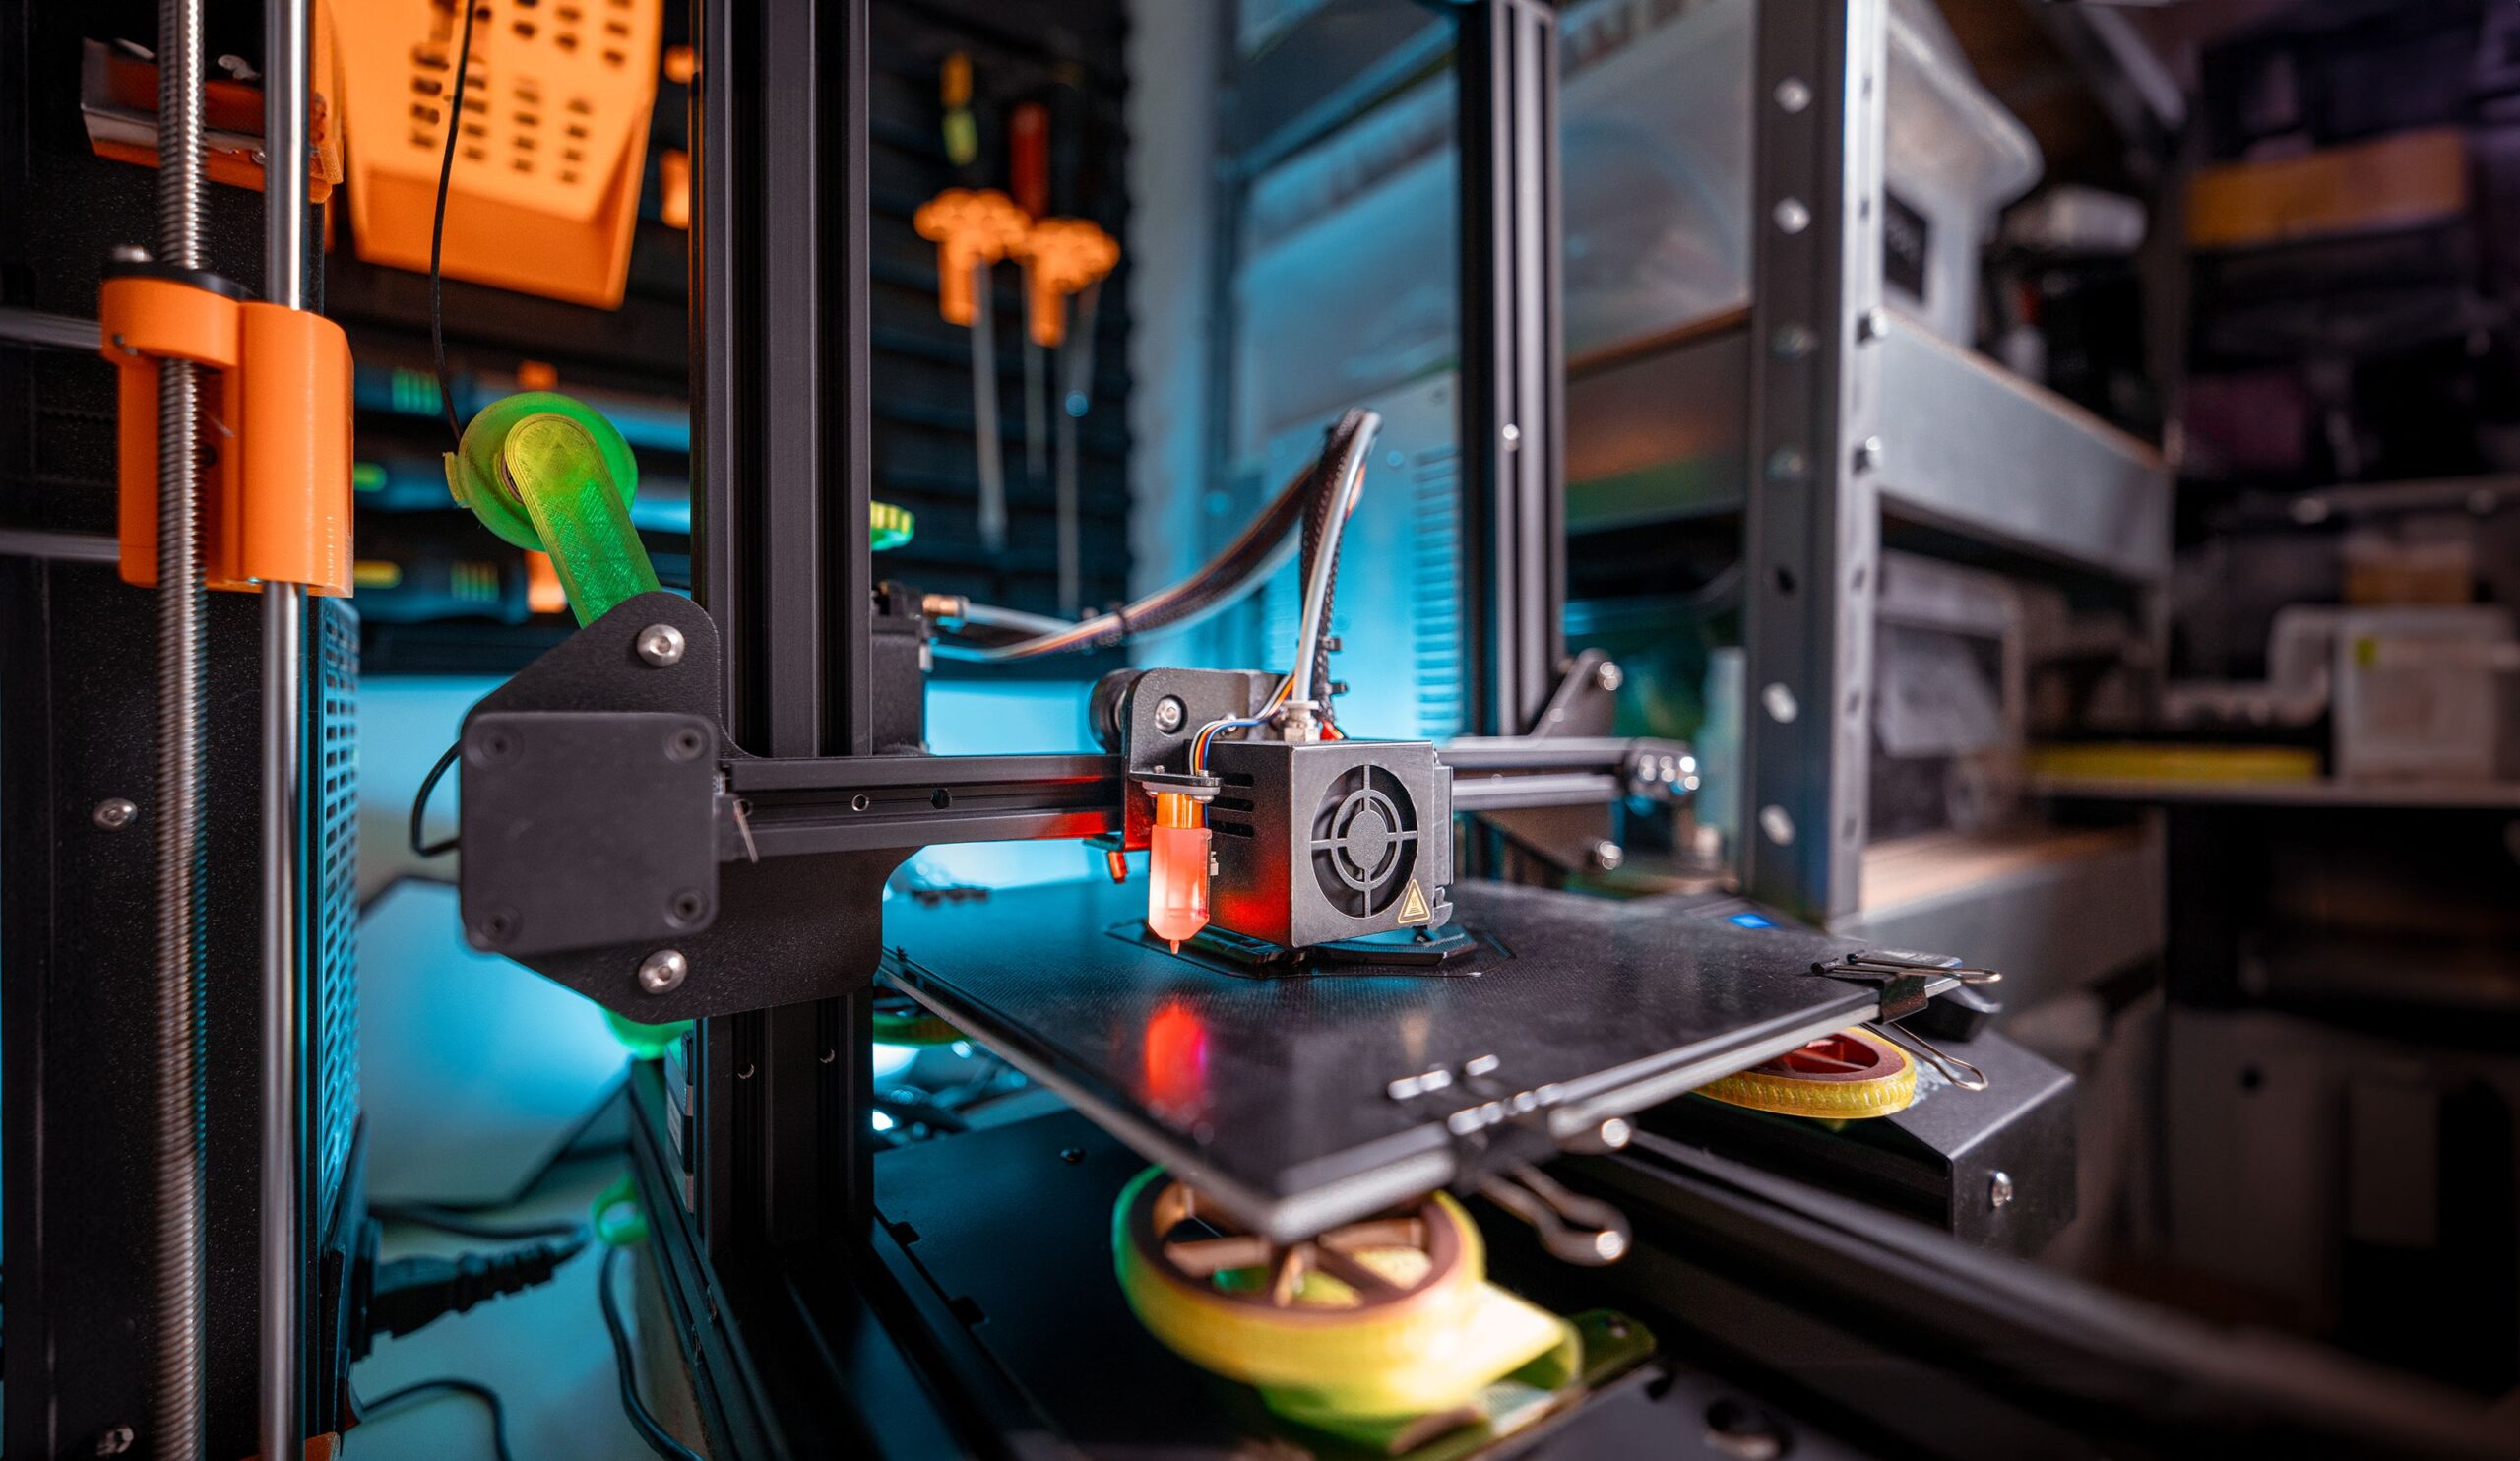
What Software Actually Runs a JGAurora Printer
Every JGAurora machine needs two separate pieces of software working together:
- A slicer — the program on your computer that converts a 3D model into the line-by-line instructions (G-code) the printer follows.
- Firmware — the code running on the printer’s own mainboard that interprets those instructions and drives the motors, heaters, and screen.
The bundled disc that comes in the box is usually labeled JGCreat, and it is built on an older version of Cura with JGAurora-specific build volume and start/end G-code already filled in. It works, but it is frozen at whatever Cura release it was forked from, so it misses years of slicing improvements. Most long-time owners instead:
- Install a current version of Cura, PrusaSlicer, or Simplify3D.
- Add a custom printer profile matching their exact JGAurora model.
- Keep the original JGCreat install around only as a firmware-flashing fallback.
There is no subscription, no login, and no official cloud app involved — if a website tries to sell you a special “JGAurora software license,” it is not something the manufacturer actually requires.
Setting Up a Printer Profile in Cura
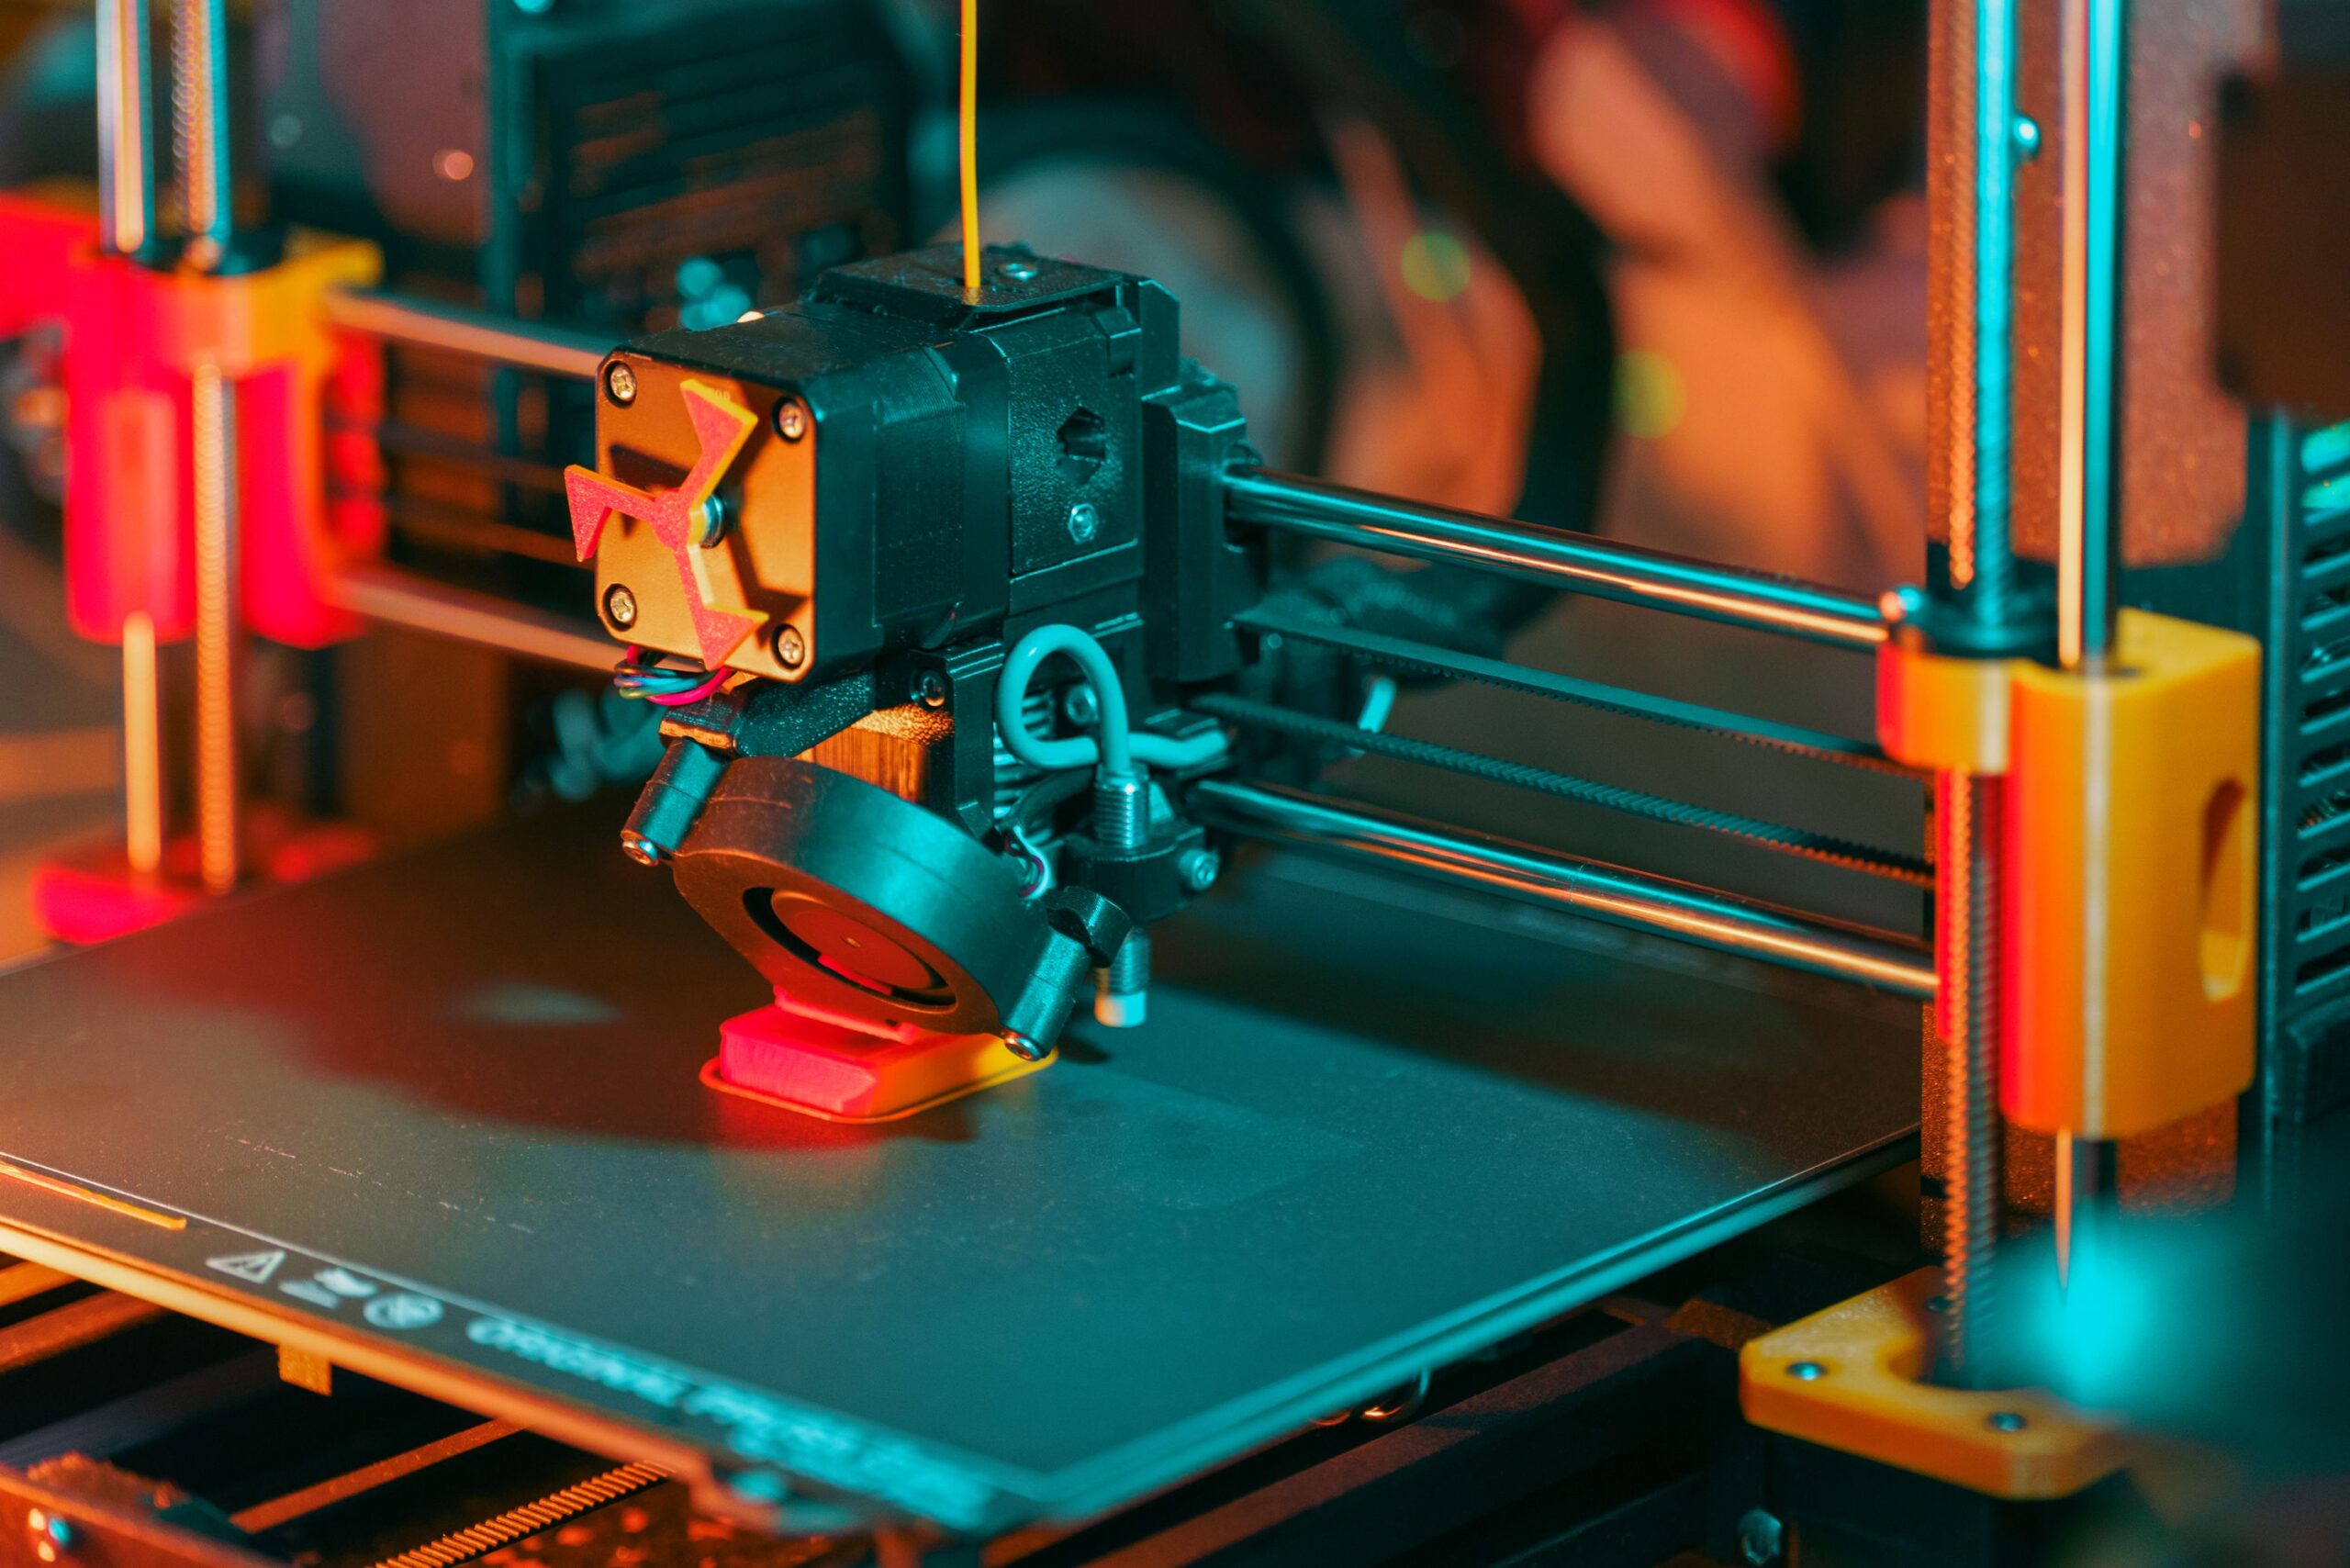
Because JGAurora printers are not in Cura’s default machine list on every release, you will usually add one manually as a custom FFF printer. The exact numbers depend on your model:
- A5 / A5S — build volume roughly 305 x 305 x 320 mm
- A3S — build volume roughly 205 x 205 x 300 mm
- Z-603S — larger dual-extruder frame with a taller Z axis
To set this up yourself:
- Open Cura and choose Add Printer > Add a non-networked printer > Custom FFF Printer.
- Enter your model’s build volume under Machine Settings.
- Set nozzle diameter (0.4 mm on most units) and start/end G-code — the community-maintained JGAurora wiki printing profiles page has ready-made values you can copy in directly.
- Save the profile with a clear name so you can select it again later.
If you would rather not build a profile from scratch, some users prefer to install Cura on top of the existing JGCreat folder and copy the bundled definitions across, which saves re-entering every setting by hand. Either route gets you the same result: a slicer that actually understands your printer’s size and limits.
Updating JGAurora Firmware the Right Way
Firmware updates on these machines are a two-part job, because the touchscreen and the mainboard usually run separate firmware files:
- LCD/screen firmware is normally updated by copying the file onto a microSD card, inserting it into the screen’s card slot, and powering the unit on so it flashes itself.
- Mainboard firmware is flashed over USB using a small flashing utility — XLoader on Windows or HexUploader on macOS — connected through the square-head USB port on the board.
A few things worth doing before you touch either one:
- Confirm which board revision you have; firmware built for the wrong revision can leave the printer unresponsive.
- Keep the factory firmware file saved somewhere safe so you can restore it if a custom or community build misbehaves.
- Never disconnect power mid-flash — let the process finish completely, even if it looks stuck for a minute.
If your printer already feels solid and prints cleanly, there is no requirement to chase every new firmware release. Community-maintained builds do add worthwhile features like better temperature control or filament run-out handling, but they are optional upgrades, not something the printer nags you about.
Common Problems and Quick Fixes
Most of the “my JGAurora software isn’t working” complaints I have seen trace back to one of these:
- Under-extrusion or gaps in prints — almost always a wrong or generic printer profile rather than a hardware fault. Double-check nozzle diameter and filament diameter settings first.
- Printer not detected over USB — try a different USB cable (many cheap cables are charge-only) and confirm the correct driver is installed for the board’s USB-to-serial chip.
- Screen stuck after a firmware flash — reformat the microSD card to FAT32 and re-copy just the single firmware file before retrying.
- Old JGCreat crashes on modern Windows — this is expected for aging software; switching to current Cura solves it outright.
Frequently Asked Questions
Is there an official JGAurora app I should be using?
No single official app is required. JGCreat (the bundled Cura fork) works, but a current version of Cura or another mainstream slicer with a correct custom profile is generally a smoother experience.
Which slicer is easiest for a first-time JGAurora owner?
Cura tends to be the most beginner-friendly, mainly because of the volume of community profiles and tutorials already written for JGAurora-family printers.
Do I need to update firmware right after unboxing?
Not necessarily. If the printer levels correctly and prints cleanly out of the box, firmware updates can wait until you actually need a feature or fix that a newer version provides.
Can I damage the printer by flashing the wrong firmware?
Yes, flashing firmware built for a different board revision can leave the mainboard unresponsive, which is why keeping a backup of the factory firmware file matters before experimenting.
Conclusion
Once you accept that there is no single official “JGAurora software,” the whole setup becomes a lot less confusing. Pick a slicer you like, feed it the correct build volume and G-code for your exact model, and treat firmware updates as optional maintenance rather than a mandatory step. Most of the print-quality complaints people blame on the printer itself actually clear up the moment the slicer profile is set correctly.
Ryan has spent the past decade tinkering with desktop 3D printers and slicer software, and holds a Computer Science degree he still puts to good use tracking down firmware quirks on aging hardware.