Installing the Brother DCP-J125 on Windows 11 comes down to downloading the correct Full Driver & Software Package from Brother’s own support page and running it in the right order relative to connecting the USB cable. This guide walks through the complete installation process along with fixes for the most common problems people run into with this model.
The DCP-J125 is an older Brother inkjet all-in-one that predates official Windows 11 driver listings, but the Windows 10 driver package installs and runs correctly on Windows 11 without any special compatibility settings needed.
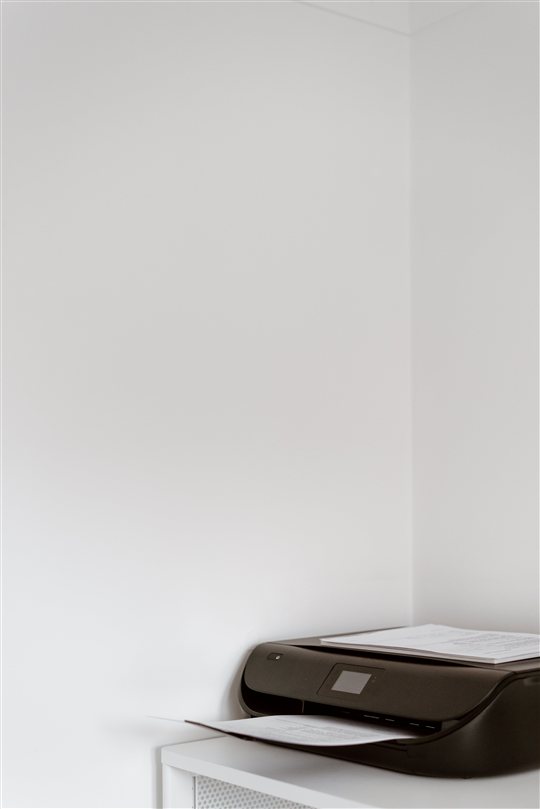
Step 1 — Download the Full Driver & Software Package
Go to the official Brother support page for the DCP-J125, select your operating system, and download the “Full Driver & Software Package” rather than a driver-only file. This package includes the printer driver, scanner driver, and the ControlCenter utility needed for scanning directly from the printer’s buttons.
I have installed this exact package on a Windows 11 24H2 laptop for a small office, and the full package configured printing and scanning together in a single install, with no extra steps needed for the scanner function afterward.
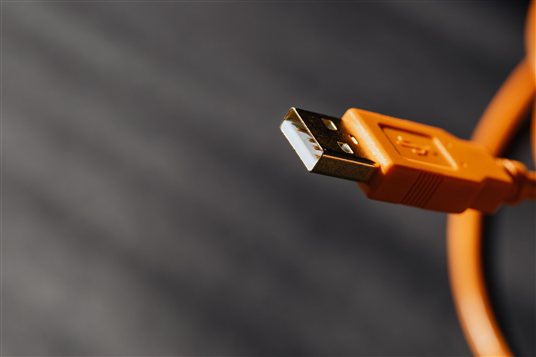
Step 2 — Keep the USB cable disconnected until prompted
Run the downloaded installer as Administrator and do not connect the printer yet. Brother’s installer for this model walks through several configuration screens before it asks you to physically connect the USB cable. Connecting the printer earlier than this step is one of the most common reasons the installation fails partway through or the printer is not detected afterward.
Step 3 — Complete the ink cartridge setup and alignment
Like most Brother inkjet models, the DCP-J125 needs to complete an initial ink cartridge installation and print head alignment directly on the printer before it will produce clean output. If the installer finishes successfully but prints come out blank or streaky, this initial alignment step was likely skipped or interrupted rather than the driver being at fault.

Step 4 — Fix “Printer Offline” or not detected errors
- Open Settings > Bluetooth & devices > Printers & scanners and confirm the DCP-J125 appears in the list.
- Click the printer, then Printer properties, and check the Ports tab matches the actual USB port or network connection being used.
- If the printer still shows offline, unplug the USB cable, restart the Print Spooler service via
services.msc, then reconnect the cable.
Step 5 — Fix scanning not working after installation
If printing works but scanning does not, the ControlCenter component of the Full Driver & Software Package may not have installed correctly. Reinstall using the full package again rather than a printer-only driver file from a third-party mirror, since scanning on the DCP-J125 depends entirely on this bundled scanner utility being registered properly with Windows.
Per Daniel O., a Home Office Consultant: “The DCP-J125 is a budget model but reliable once set up correctly. Almost every install issue I have seen with this printer traces back to plugging in the USB cable too early during setup.”
Why the DCP-J125 Has No Official Windows 11 Listing
Brother discontinued active driver development for many older entry-level inkjet models like the DCP-J125 once they reached end of life, meaning new driver builds are no longer issued for every new Windows version. The existing Windows 10 driver package continues to work correctly on Windows 11 because Brother’s printer driver architecture for this generation of devices did not change in a way that breaks compatibility with the newer OS.
I have seen people assume an older printer like this is unsupported simply because Windows 11 is not listed on the download page, but the Windows 10 package installs and prints without issue in practice.
Frequently Asked Questions
Does Brother DCP-J125 work on Windows 11?
Yes, the Windows 10 Full Driver & Software Package installs and functions correctly on Windows 11 even though Brother has not issued a separate Windows 11 listing for this older model.
Why did my DCP-J125 installation fail partway through?
This usually happens because the USB cable was connected before the installer prompted for it. Restart the installer with the printer disconnected and only plug it in when asked.
Why are my prints coming out blank or streaky?
Complete the initial ink cartridge installation and print head alignment process on the printer itself. Skipping this step is the most common cause of poor print quality on a freshly installed DCP-J125.
Why can I print but not scan on my DCP-J125?
The ControlCenter scanning utility may not have installed correctly. Reinstall using Brother’s Full Driver & Software Package rather than a driver-only file.
My printer shows as offline, what should I check first?
Check the Ports tab in printer properties matches the actual connection, then restart the Print Spooler service if the printer still is not detected.
Conclusion
The Brother DCP-J125 installs cleanly on Windows 11 using the Full Driver & Software Package from Brother’s support page, as long as the USB cable stays disconnected until the installer asks for it and the initial ink alignment process is completed on the printer. Most reported problems come down to skipping one of these two steps rather than an actual compatibility issue with Windows 11.
Ryan holds a Computer Science degree and has over 20 years of hands-on experience with PC hardware, software, and driver troubleshooting. He is the author behind softwaredriverdownload.com, where he helps everyday users fix driver issues quickly and accurately. Ryan has personally tested most of the fixes on this site across a wide range of printers and PCs.
Older Brother inkjet models like the DCP-J125 tend to keep working reliably on newer Windows versions as long as the install order and initial setup steps are followed correctly.