The Reolink Altas PT Ultra is a 4K pan-tilt battery camera with 355° horizontal rotation, auto-tracking, and ColorX night vision, but getting it fully set up involves a few more steps than a fixed-lens camera because of the extra pan-tilt calibration and battery considerations. This guide walks through mounting, pairing, and the settings worth adjusting on day one.
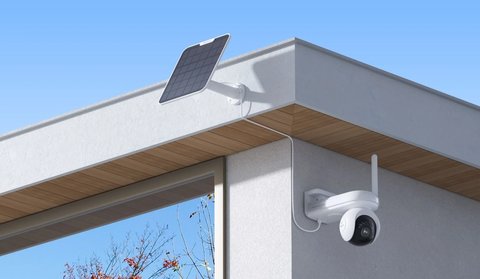
Charge the Battery Fully Before Mounting
Charge the 20,000mAh battery to 100% before installing, since running the initial setup and pan-tilt calibration on a partially charged unit can interrupt the process partway through.
Pair the Camera in the Reolink App
Add the camera as a new device, scan the QR code on the unit or its box, and follow the prompts to connect it to your 2.4GHz or 5GHz Wi-Fi network over the dual-band Wi-Fi 6 radio.
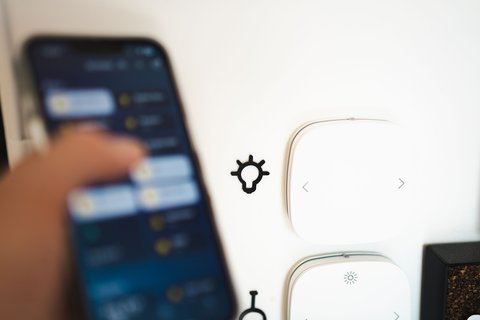
Mount at the Right Height and Angle
Mount around 2.5 to 3 meters high with a slight downward tilt for the best balance of coverage and detail. Since the 355° pan covers almost a full circle, avoid mounting directly against a corner that would block part of the rotation.
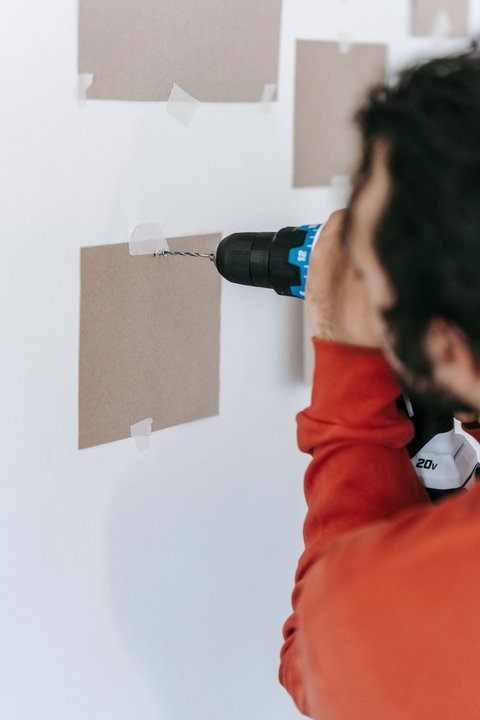
- Use the included mounting template to mark screw positions before drilling
- Leave clearance around the camera housing for the full pan-tilt range to move freely
- Route the solar panel cable, if using one, before final tightening of the mount
Calibrate Auto-Tracking and Detection Zones
Run the app’s initial calibration so the camera learns its full pan-tilt range, then draw a custom detection zone that excludes public streets or a neighbor’s yard to cut down on irrelevant alerts.
Give the auto-tracking a day or two of real-world activity before judging it — it tends to improve noticeably once it has a few actual motion events to calibrate against, rather than just the initial setup routine.
Getting Notifications Right
- Enable person and vehicle-specific AI detection rather than generic motion alerts to cut down on false triggers
- Set a scheduled quiet period for notifications if the camera covers an area with regular daytime foot traffic
- Adjust detection sensitivity gradually rather than jumping straight to the lowest setting, which can miss real events
For full specs and mounting hardware diagrams, see Reolink’s official Altas PT Ultra product page. Reolink’s Altas PT Ultra support hub covers pairing issues and app troubleshooting specific to this model.
Frequently Asked Questions
Does setup require a hub or NVR?
No, the Altas PT Ultra connects directly to your Wi-Fi network and works standalone through the Reolink app.
Can I set it up without the solar panel?
Yes, the solar panel is optional; the camera runs on its battery alone, just with less runtime between charges.
How long does initial setup take?
Pairing and basic configuration typically takes 10 to 15 minutes; mounting time varies depending on your wall surface and cable routing.
Does auto-tracking need to be recalibrated after moving the camera?
Yes, re-run the calibration in the app any time the camera is remounted in a new position or angle.
Conclusion
Most of the extra setup time with the Altas PT Ultra compared to a fixed camera comes down to mounting placement and pan-tilt calibration, not anything overly technical. Get the height and clearance right the first time, and the auto-tracking and detection zones mostly take care of themselves after a day or two of real activity.
Ryan is a longtime PC hardware and smart home enthusiast who tests every device covered on softwaredriverdownload.com firsthand before writing about it.