I have set up more wireless and wired headsets than I can count while writing about budget gaming gear, and Onikuma headsets are some of the trickiest to get right the first time — not because the hardware is bad, but because the brand sells several very different connection styles across one lineup. This guide walks through every method, in the order I would actually try them on my own desk.
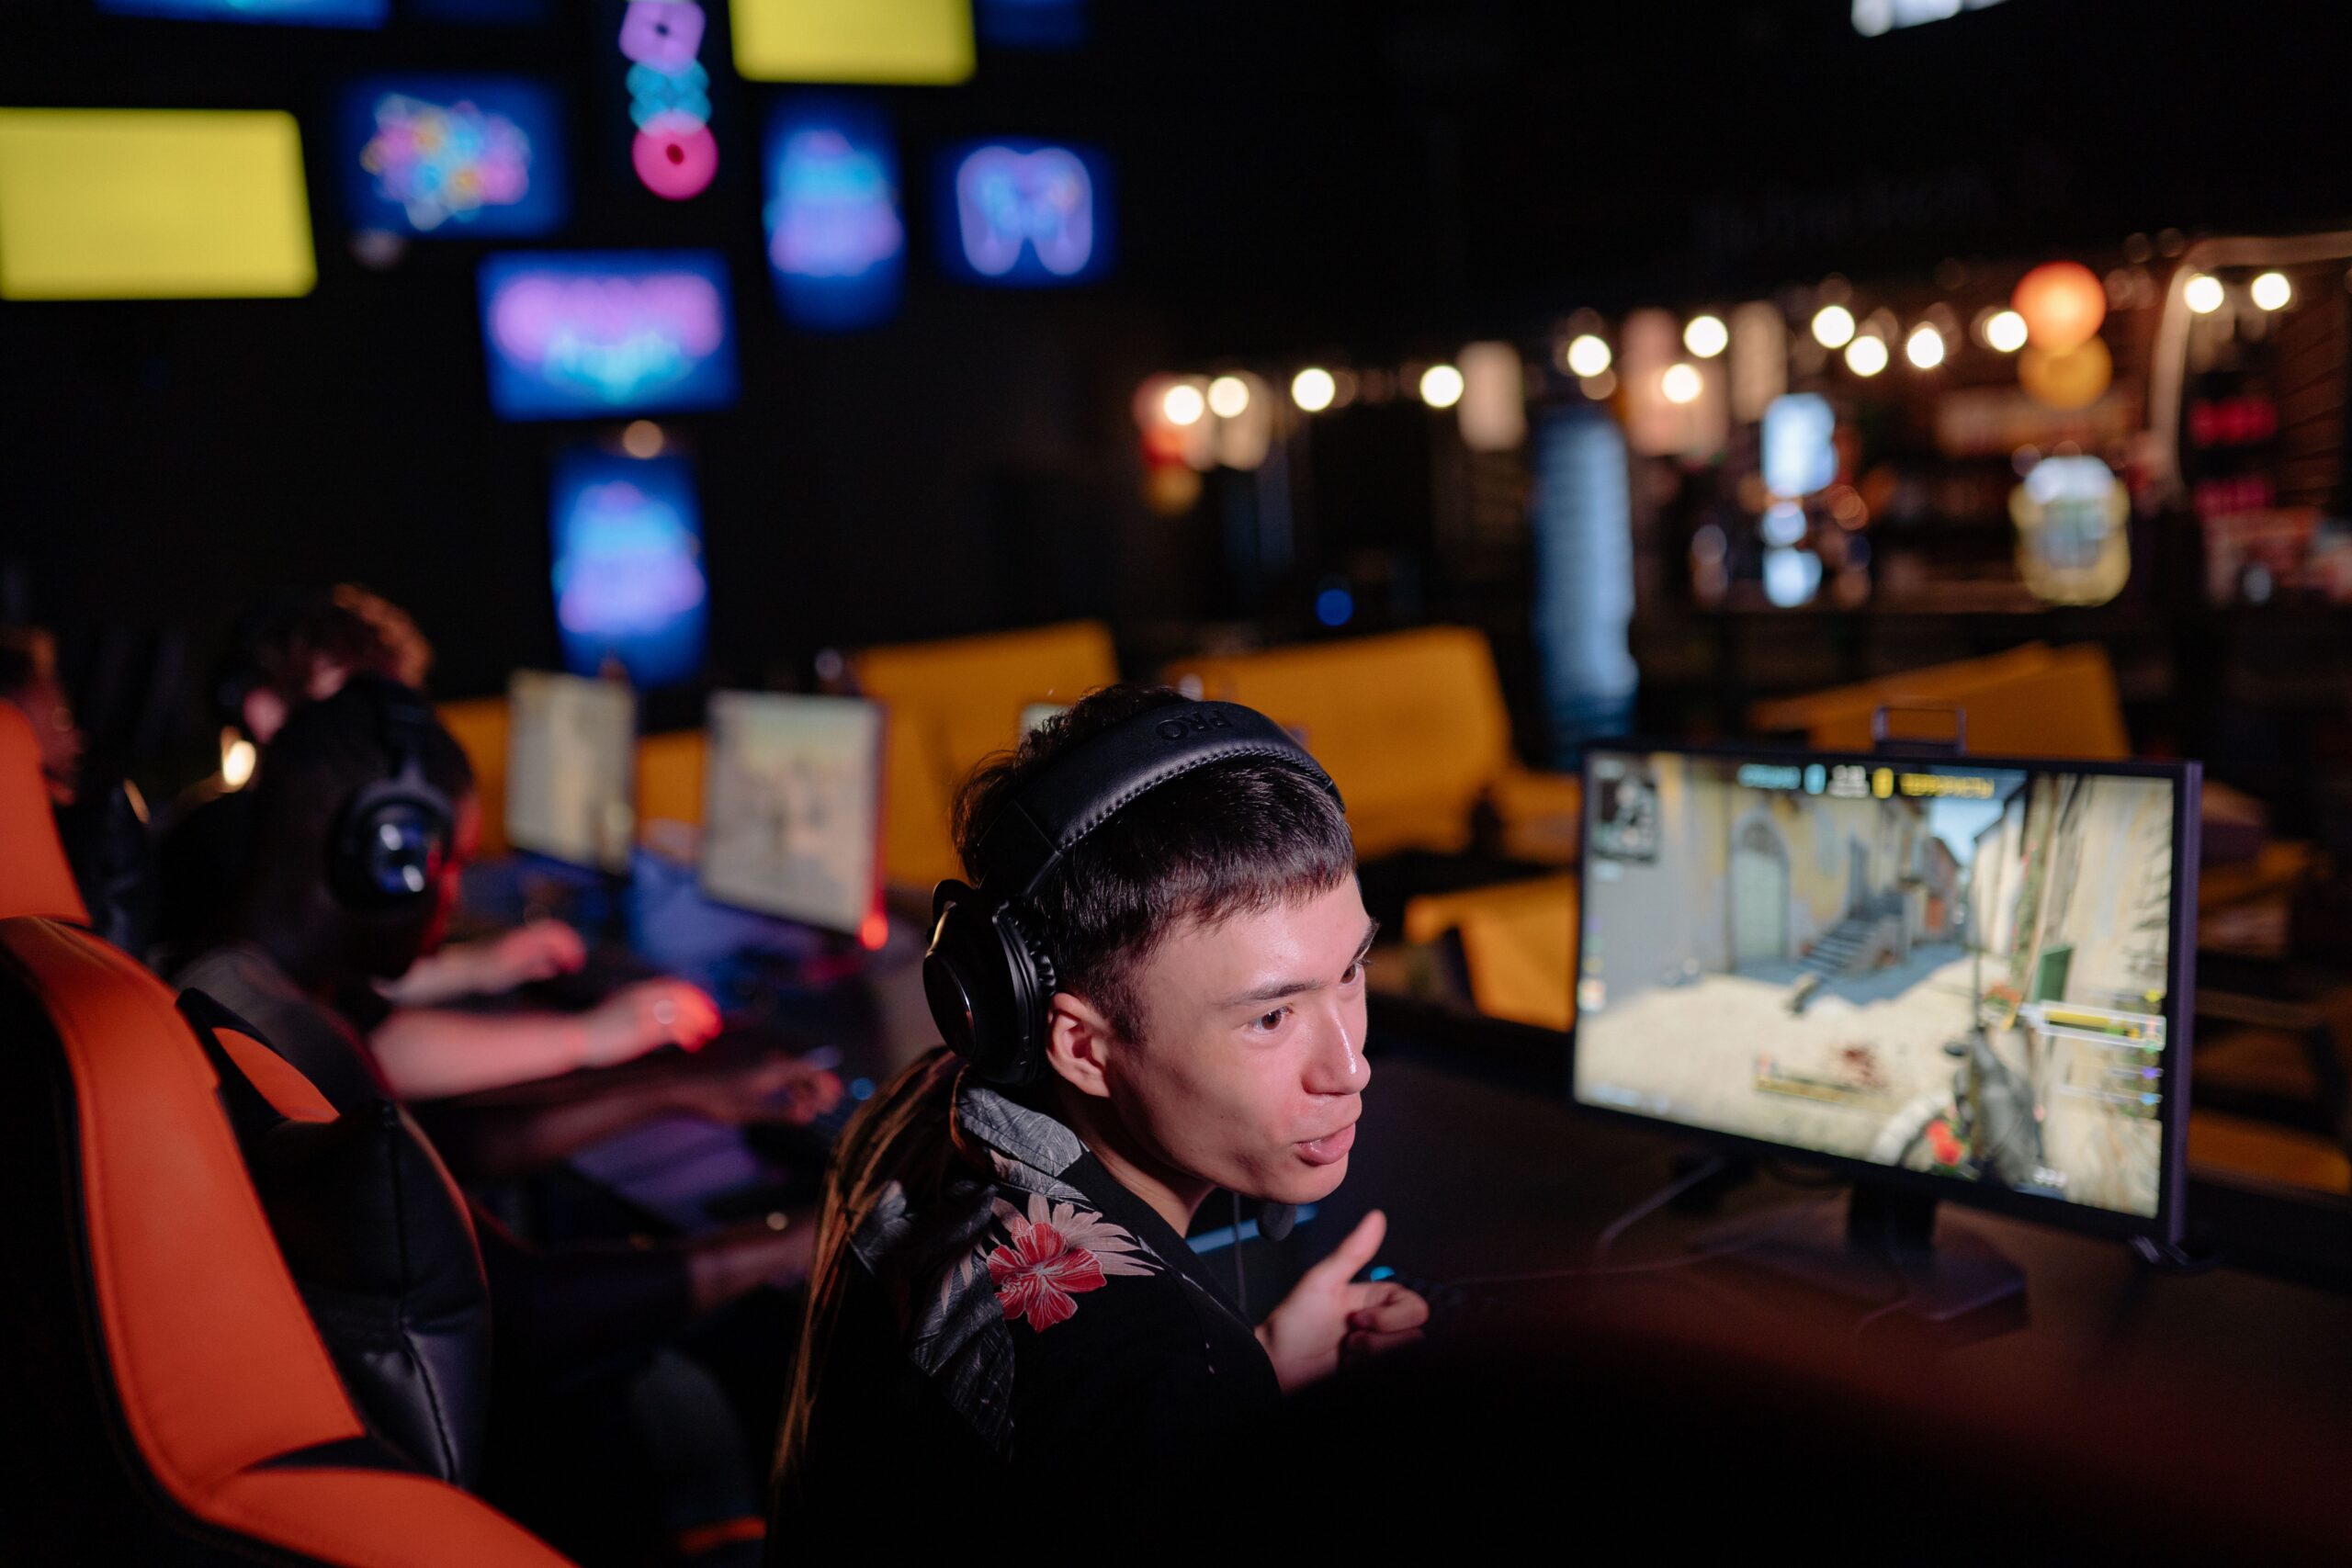
Onikuma headsets ship in three basic flavors: fully wired 3.5mm/USB models, 2.4GHz wireless models with a small USB dongle, and tri-mode models that add Bluetooth on top of that. The steps below are grouped by connection type, so skip ahead to whichever matches the box your headset came in.
Step 1: Identify Your Connection Type
Before plugging anything in, look at what came in the box.
- Wired 3.5mm: A single cable ending in one or two 3.5mm jacks (sometimes labeled with a headphone icon and a microphone icon).
- Wired USB: A single USB-A cable, sometimes with an inline volume/mute control.
- 2.4GHz wireless: A small USB dongle roughly the size of a fingernail, plus a charging cable for the headset itself.
- Tri-mode (2.4GHz + Bluetooth + wired): Includes the dongle, a 3.5mm cable, and a physical switch on the earcup for choosing the mode.
Step 2: Connect a Wired 3.5mm Onikuma Headset
- Check whether your PC has separate pink (mic) and green (headphone) jacks, or a single combined jack (common on laptops).
- If your headset has two plugs and your PC has one combined jack, you will need a cheap 3.5mm splitter/combiner adapter — this is one of the most common reasons people think the headset is “broken” when it is simply a jack mismatch.
- Plug the headphone jack into the green port and the mic jack into the pink port.
- Right-click the speaker icon in the Windows taskbar, choose Sound settings, and confirm the headset is selected as both the output and input device.
Step 3: Connect a Wired USB Onikuma Headset
USB models are the simplest to set up because Windows treats them as a self-contained sound card:
- Plug the USB connector directly into a rear motherboard port on a desktop PC rather than a front-panel hub, which can be underpowered.
- Windows should install a generic USB audio driver automatically within a few seconds.
- Open Settings > System > Sound and set the Onikuma headset as the default input and output device.
- If the LED lighting or in-line controls do not respond, unplug and plug back in — USB audio devices occasionally need a fresh enumeration after a driver install.
Step 4: Pair a 2.4GHz Wireless Onikuma Headset
This is the connection method most people ask me about, mainly because there is no visible “pairing” step the way there is with Bluetooth.
- Charge the headset fully before first use using the included USB-C or Micro-USB cable; most Onikuma wireless models need two to three hours for a full charge.
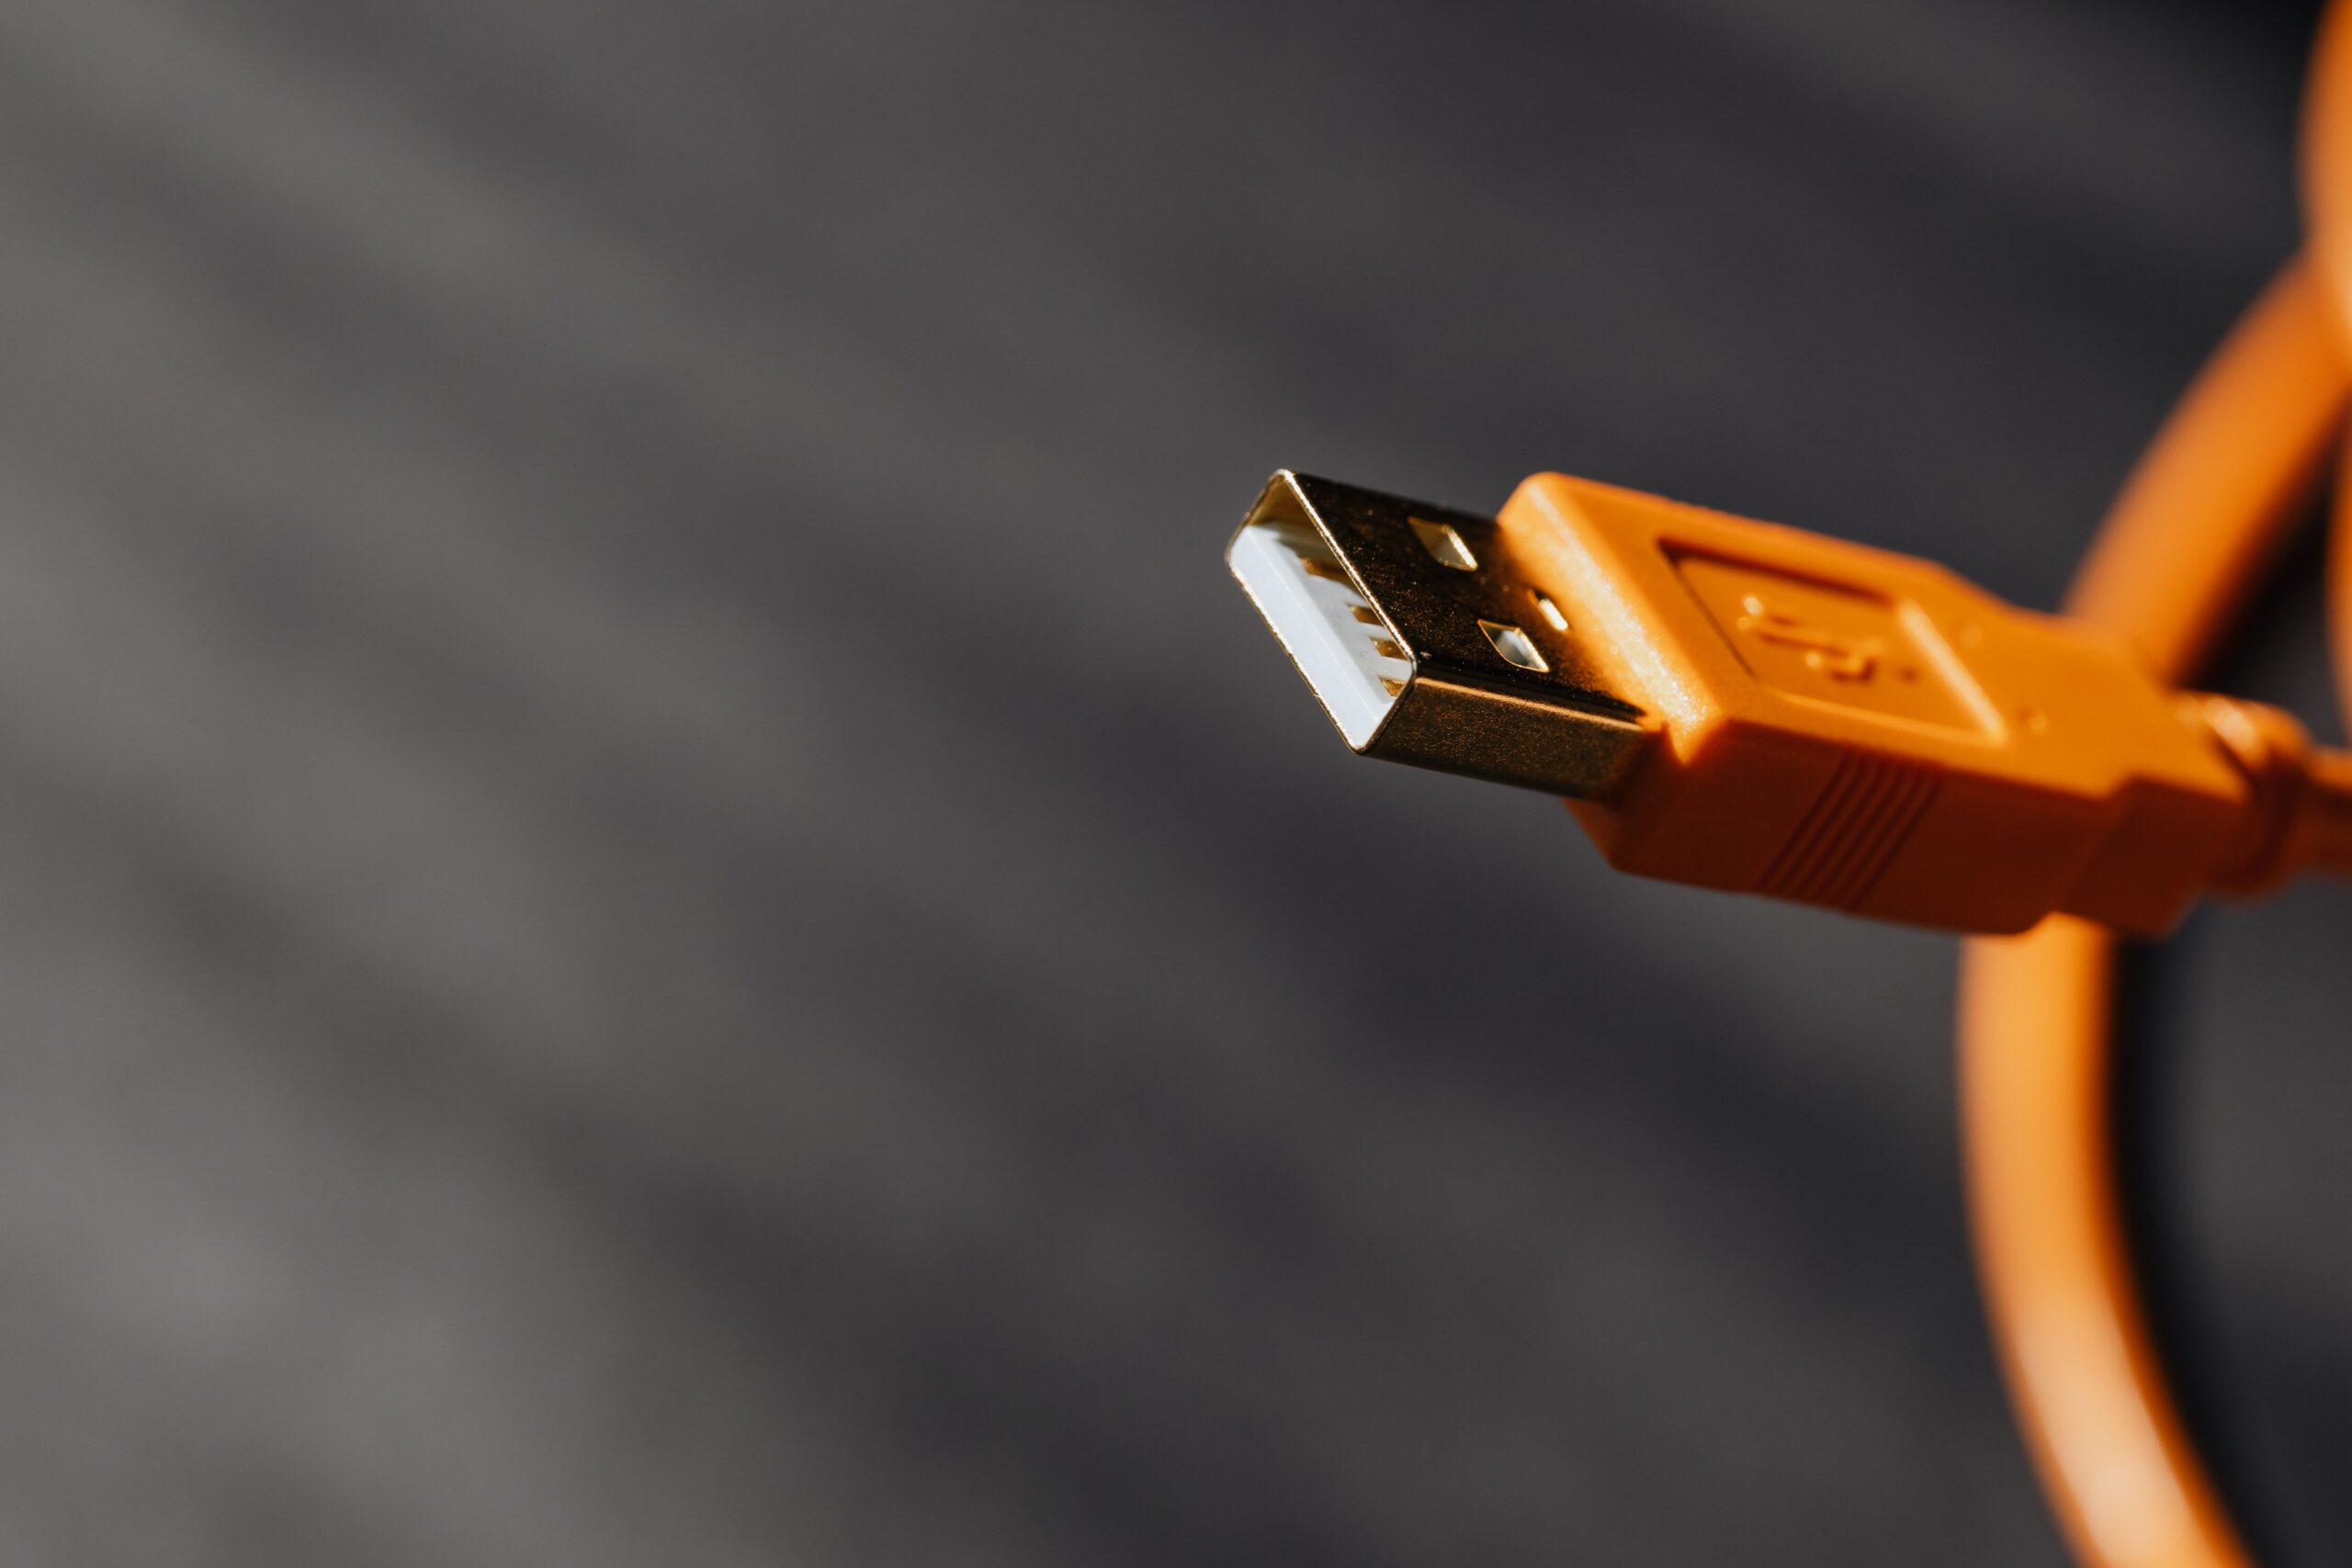
- Plug the small 2.4GHz USB dongle into a free USB-A port on your PC.
- Power on the headset using the main power button (usually a long press of two to three seconds).
- The dongle and headset are pre-paired from the factory, so the connection should happen automatically within a few seconds — you will typically hear a voice prompt or see the LED change from blinking to solid.
- If it does not connect, hold the power button for eight to ten seconds to reset the headset, then unplug and replug the dongle.
Step 5: Pair a Tri-Mode Onikuma Headset via Bluetooth
Higher-end Onikuma models (the kind that support phones and consoles too) add Bluetooth as a third option:
- Flip the mode switch on the earcup to the Bluetooth position.
- Press and hold the power button until the LED flashes rapidly in a pairing pattern.
- On your PC, open Settings > Bluetooth & devices > Add device, choose Bluetooth, and select the headset from the list once it appears.
- Once paired, Windows will remember the headset and reconnect automatically the next time it is powered on nearby.
Step 6: Confirm Windows Is Actually Using the Headset
A surprising number of “my headset won’t connect” cases are really Windows still routing audio to the monitor speakers or a different device. After connecting by any method above:
- Right-click the volume icon and open Sound settings.
- Under Output, manually select the Onikuma headset rather than trusting the automatic default.
- Under Input, do the same for the microphone.
- Play a short YouTube clip and speak into the mic using the Windows sound recorder to confirm both directions work.
Troubleshooting Quick Reference
- No sound at all: Wrong output device selected, or a wired headset plugged into the wrong colored jack.
- Sound but no mic: Combined 3.5mm jack plugged into a headphone-only port, or the physical mute switch on the earcup is engaged.
- Dongle not detected: Try a different USB port, preferably a rear USB 2.0 port on desktops, which tends to be more stable for 2.4GHz dongles than USB 3.0 hubs.
- Bluetooth pairs but keeps dropping: Move the dongle or PC’s Bluetooth antenna away from other 2.4GHz devices like routers and wireless mice.
For firmware questions or replacement dongles, Onikuma keeps a small support and downloads page on their official site, and their Amazon storefront lists which exact accessories ship with each model, which is handy if you have lost the original dongle.
Frequently Asked Questions
Does the Onikuma 2.4GHz dongle work with any Onikuma headset?
No. Each dongle is paired at the factory to one specific headset unit, so dongles are not interchangeable between different headsets even of the same model.
Do I need to install a driver for Onikuma headsets?
Almost never. Onikuma headsets use standard USB audio or Bluetooth audio profiles that Windows and macOS already support natively. There is no dedicated Onikuma driver package for headsets.
Why does my headset show up as a microphone but not as headphones (or the other way around)?
This usually means the device is only partially enumerated. Open Device Manager, look under Sound, video and game controllers as well as Audio inputs and outputs, and re-enable or reinstall the device if you see a warning icon.
Can I use a wireless Onikuma headset while it is charging?
Yes, on most models you can continue using the headset over the 2.4GHz connection while it charges via USB, though Bluetooth mode sometimes disables during charging depending on the model.
Final Thoughts
Once you match the connection method to what is actually in the box, getting an Onikuma headset working on a PC takes two or three minutes, not an afternoon. My own habit now is to always plug the dongle into a rear port first and set the Windows input/output devices manually rather than trusting auto-detection, which has saved me a fair bit of troubleshooting on review units over time.
Written by Marcus Dell, a Texas-based PC hardware reviewer with a computer science background who has tested more than sixty budget gaming headsets and controllers for value-focused buying guides.