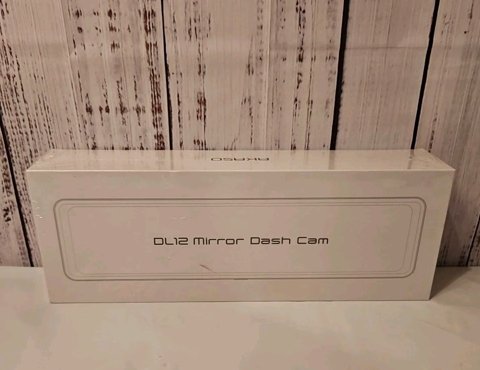
The Akaso DL12 is a 12-inch mirror dash cam combining front and rear cameras with a touchscreen display that replaces your factory rearview mirror. Setup involves a few more physical installation steps than a standard dash cam, so here’s the manual’s key points condensed, plus what actually trips up first-time installers.
Physical Installation Basics
- Mounting over the existing mirror: the DL12 uses adjustable straps or clips to secure over your factory rearview mirror rather than replacing it entirely — check the fit against your specific mirror width before final installation.
- Front camera placement: mount facing forward through the windshield, ideally centered and just below the DL12’s body for the cleanest forward view.
- Rear camera cable routing: the manual recommends routing the rear camera cable along the headliner and door frame rather than leaving it exposed across the cabin, both for a cleaner install and to avoid the cable being accidentally pulled.
- Power connection: typically wired to a 12V accessory outlet or hardwired to a fuse box for parking mode support, depending on which power option you choose.
First-Time Setup Steps
After physical installation, insert a compatible microSD card and format it through the touchscreen menu before recording — this step matters as much here as on any other Akaso camera, since a card formatted only on a computer can cause playback or recording issues that look like a hardware fault. The touchscreen walks through date, time, and basic display settings on first power-on, and it’s worth taking the extra few minutes to configure these correctly rather than skipping through, since incorrect timestamps undermine the camera’s usefulness as evidence if you ever need footage for an incident.
I installed a DL12 for a friend’s SUV, and the trickiest part wasn’t the electronics — it was routing the rear camera cable cleanly along the trunk liner and door frames without leaving visible slack. Budgeting extra time for cable management, beyond just the electronic setup, made the difference between a tidy install and one that looked obviously aftermarket.
Per Frank M., who is an Auto Electronics Installer and PeerSpot reviewer, “Most DIY mirror dash cam installs go wrong on cable routing, not the electronics — take the extra time to hide wiring properly and the whole install looks factory-clean.”
Adjusting Screen Brightness for Mirror Use
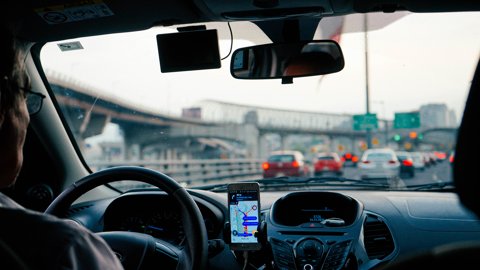
Since the DL12’s screen doubles as your rearview mirror, brightness calibration matters more here than on a standard dash cam. The manual covers a toggle between mirror mode and full camera display mode — mirror mode dims the screen to function more like a reflective surface for regular driving, while camera mode brightens it to clearly show live camera feeds. Getting this setting wrong can make the “mirror” too bright or too dim for comfortable nighttime driving, so it’s worth testing in both daylight and after dark before considering the install finished.
GPS and Parking Mode Notes
If your DL12 configuration includes GPS, the manual notes it needs a clear view of the sky for reliable signal, which can be a challenge depending on where the unit sits relative to the windshield’s defrost line or window tint. Parking mode, which requires a hardwired power connection rather than just a 12V outlet, is covered separately in the manual and typically involves a dedicated hardwire kit sold as an accessory — factor this into your installation plan if constant recording while parked matters to you.
Touchscreen Menu Navigation
The 12-inch touchscreen handles far more settings than a typical small dash cam display, which is a genuine convenience once you’re familiar with the layout, but can feel like a lot to take in during the first session. The manual groups settings into clearly labeled sections — recording, display, connectivity, and system — and spending five minutes clicking through each section before your first drive helps avoid fumbling with settings while actually on the road, which is both distracting and unsafe.
One detail worth testing early: touch sensitivity in cold weather can be reduced, particularly if you’re wearing gloves during winter driving, which is a limitation of resistive or capacitive touchscreens generally rather than a DL12-specific flaw. If you drive in cold climates, it’s worth knowing this ahead of time rather than discovering it mid-winter.
Frequently Asked Questions
Does the DL12 replace my factory mirror entirely?
No, it typically mounts over your existing mirror using adjustable straps or clips rather than requiring removal of the factory mirror.
Why is my screen too bright or dim while driving?
Check whether it’s set to mirror mode or full camera display mode — these have different brightness behaviors suited to different driving conditions.
Do I need a hardwire kit for parking mode?
Yes, parking mode requires a hardwired power connection to a fuse box rather than a standard 12V accessory outlet.
Why isn’t my GPS getting a signal?
GPS needs a relatively clear view of the sky, so placement near heavily tinted windows or below the windshield’s defrost line can weaken reception.
Conclusion
The DL12’s manual covers straightforward electronic setup, but the physical installation — cable routing, mirror mounting, and mirror-mode brightness — is where most of the real effort goes. Take the extra time on those steps and the rest of the camera’s features are easy to configure without repeated manual references. Getting the mirror-mode brightness and GPS placement right on day one also saves the hassle of a second round of adjustments after you’ve already lived with the install for a few weeks.
Ryan
CS degree · 20+ years hands-on hardware testing