Setting up the Imou Ranger 2 takes about 10 to 15 minutes if you follow the correct order: power on the camera, connect your phone to 2.4GHz WiFi, then pair it through the Imou Life app by scanning the QR code on the camera body. Most setup failures happen because people connect to the wrong WiFi band or skip the reset step, and I will explain both below.
I’m Ryan, and I have set up more than a dozen home WiFi cameras for family and neighbors, including a couple of Imou Ranger 2 units. The process is beginner-friendly, but a couple of spots trip people up — usually the WiFi band and QR code distance, both covered below.
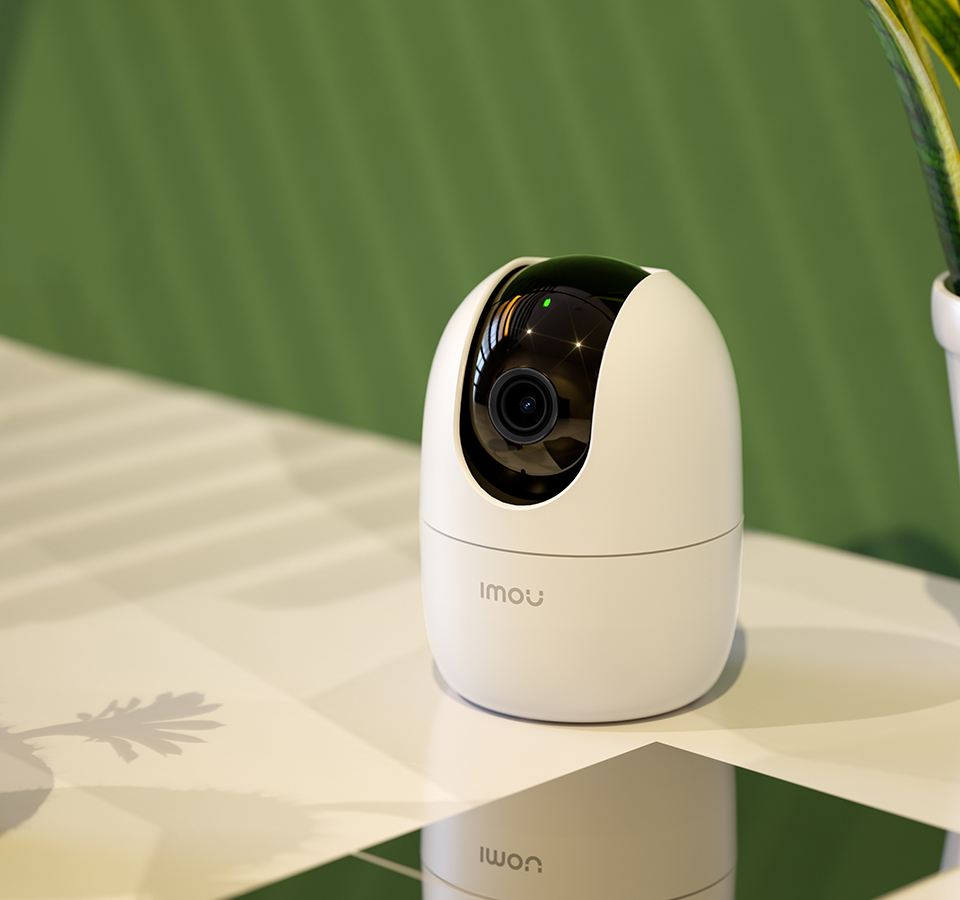
| Spec | Detail |
|---|---|
| WiFi Band | 2.4GHz only |
| Movement | Pan-tilt, app-controlled |
| Local Storage | MicroSD up to 256GB |
| Cloud Storage | Optional paid plan |
| Pairing Method | QR code scan via Imou Life app |
| Setup Time | 10-15 minutes |
What You Need Before You Start
Gather these items first so you don’t have to stop halfway through:
- The Imou Ranger 2 camera and its power adapter
- A smartphone with the Imou Life app installed (available on Imou’s official support site, App Store, or Google Play)
- A home WiFi router broadcasting a 2.4GHz network (5GHz is not supported by this camera)
- Your WiFi password ready to type
- Optional: a microSD card, up to 256GB, if you want local storage
1. Unboxing and Physical Setup
Open the box and check that you have the camera, a power adapter, a mounting bracket, screws, and a quick start leaflet. The camera does not need any tools for basic setup — you only need mounting hardware if you plan to fix it to a wall or ceiling.
1.1 Find the QR Code and Reset Button
Flip the camera over or check the base. You will see a small sticker with a QR code and a serial number. Keep this visible, since you will scan it later. There is also a tiny reset button, usually inside a pinhole, which you will only need if the pairing fails.
1.2 Power the Camera
Plug the power adapter into the camera and into a wall outlet. Wait for the indicator light to start blinking, which usually means the camera is ready to pair. If the light stays solid or does not turn on at all, hold the reset button for about 10 seconds with a pin, then power cycle it.
2. Installing and Setting Up the Imou Life App
2.1 Download and Register
Search for “Imou Life” in your app store, or scan the QR code printed on the packaging box. Install it, open it, and create an account with your email or phone number. You will need to verify with a code sent to you, so keep your inbox or messages handy.
2.2 Connect Your Phone to 2.4GHz WiFi
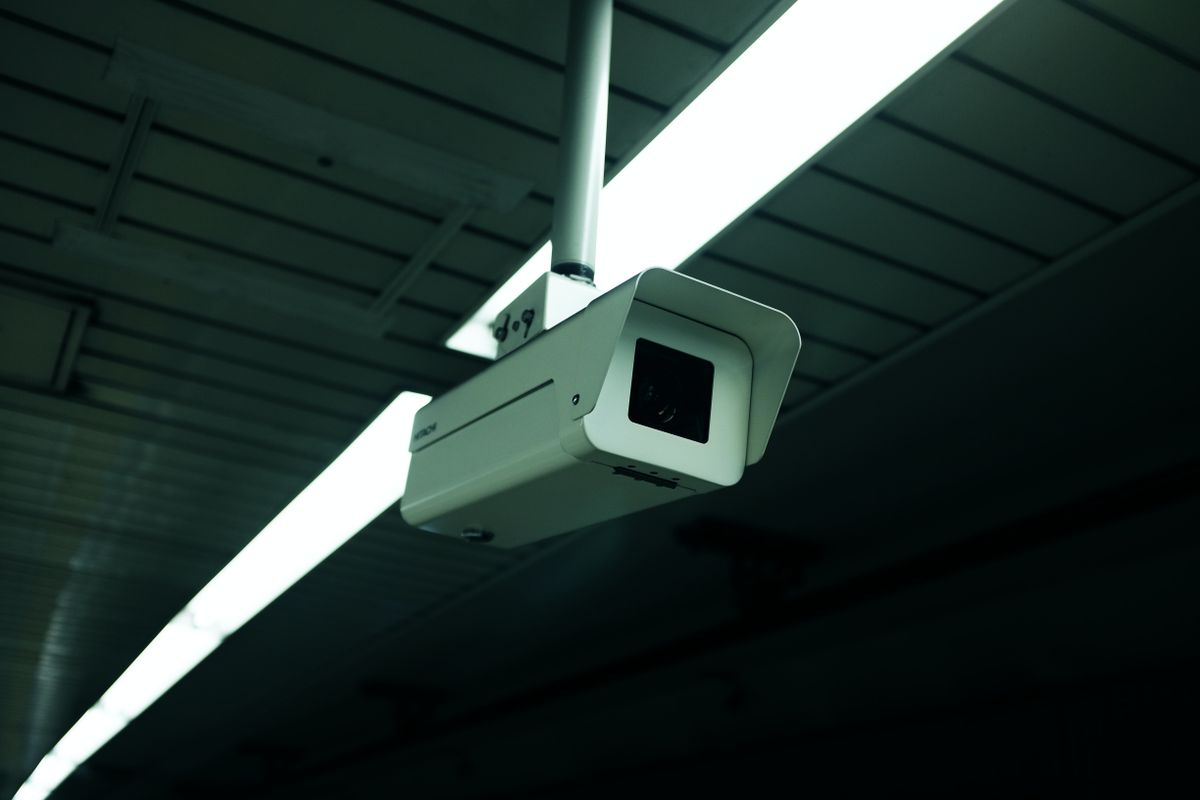
Before adding the camera, go to your phone’s WiFi settings and connect to your 2.4GHz network. If your router broadcasts a combined SSID for both bands, you may need to log into the router settings and temporarily split them, or check the router manual for a way to identify the 2.4GHz band specifically. This step trips up more people than any other part of the setup.
3. Pairing the Camera with QR Code Scan
3.1 Start Adding a Device
In the Imou Life app, tap the “+” icon in the top corner and choose “Add Device,” then select the camera type or “Scan to Add.” The app will ask you to confirm the indicator light is blinking, which tells it the camera is in pairing mode.
3.2 Enter WiFi Details
Type your WiFi network name and password into the app. Double-check for typos, especially with special characters, since a wrong password is the most common reason pairing fails silently.
3.3 Scan the QR Code Shown On Screen
The app displays a QR pattern on your phone screen. Hold this screen about 15 to 20cm in front of the camera lens, steady, until you hear a beep or voice prompt confirming the scan. This is how the camera receives your WiFi credentials without you typing them directly into the device.
3.4 Wait for Connection
The camera will attempt to join your network. This usually takes under a minute. If it fails, move the camera and router closer together temporarily, confirm the 2.4GHz band again, and retry. In my experience, most failed attempts at this stage are fixed just by moving the phone and camera closer to the router during setup, then relocating the camera afterward once the connection is stable.
4. Naming, Positioning, and Pan-Tilt Check
Once connected, the app will ask you to name the camera, for example “Front Door” or “Living Room.” Give it a clear name if you plan to add more cameras later. Then test the pan-tilt function directly from the app — swipe on the live view or use the on-screen directional pad to confirm the camera moves smoothly in all directions before you mount it permanently.
5. Setting Up Storage: SD Card vs Cloud
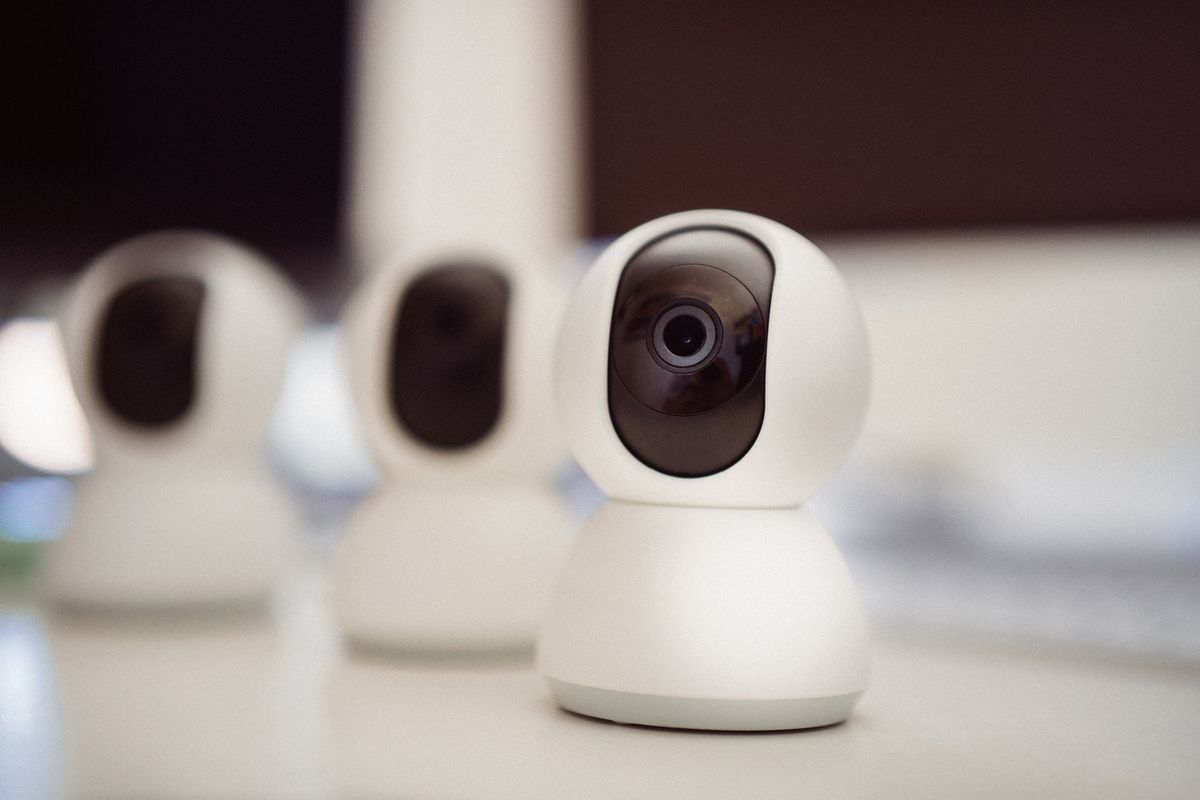
The Ranger 2 supports two storage options, and you can use either one or both together.
5.1 microSD Card (Local Storage)
Insert a microSD card into the slot, usually under a rubber flap on the camera body. Power off the camera first. Once inserted, go to the app’s device settings and tap “Format SD Card” so the camera can read it correctly. Local storage keeps footage on the card only, with no monthly fee, but if someone steals the camera, the footage is gone too.
5.2 Cloud Storage
Imou also offers a paid cloud storage plan through the app, which keeps a rolling backup of recordings on Imou’s servers. This protects your footage even if the camera or SD card is damaged or stolen. Check current plan pricing and retention periods inside the app under “Cloud Storage,” since these change over time.
5.3 Which Should You Choose?
- Use an SD card if you want a one-time cost and don’t mind losing footage if the camera is stolen
- Use cloud storage if the camera covers an entry point where theft or tampering is a real risk
- Use both if you want a local backup plus offsite protection
6. Keep the Firmware Updated
After setup, open the camera’s settings in the app and check for a firmware update. Manufacturers regularly patch security issues in WiFi cameras, and an outdated camera is a common weak point for home network intrusions. Set the app to notify you of updates, or check manually every few months. You can also review Imou’s official support and firmware page for release notes before updating.
Per Alicia Tan, who is a Home IT Consultant at BrightNest Solutions, “The Ranger 2 was the easiest pan-tilt camera I’ve set up for a client — the QR pairing took less time than making coffee, and the app walks you through storage options clearly instead of burying them in a menu.”
Frequently Asked Questions
Why won’t my Imou Ranger 2 connect during setup?
The most common cause is connecting to a 5GHz WiFi network instead of 2.4GHz, since the camera only supports 2.4GHz. Also check that your WiFi password was typed correctly and that your phone and camera are close to the router during pairing.
Can I set up the Imou Ranger 2 without a QR code?
Some app versions offer an alternate “AP mode” or manual pairing option if the QR scan repeatedly fails, found under the same “Add Device” menu. This is slower but works as a backup method.
Do I need an SD card for the Ranger 2 to work?
No, an SD card is optional. The camera can operate with cloud storage only, or with no recording storage at all if you just want live viewing.
How do I reset the camera if setup keeps failing?
Hold the small reset pinhole button for about 10 seconds using a paperclip or pin, until you hear a voice prompt or the light changes pattern, then start the pairing process again from the app.
Can multiple family members view the same camera?
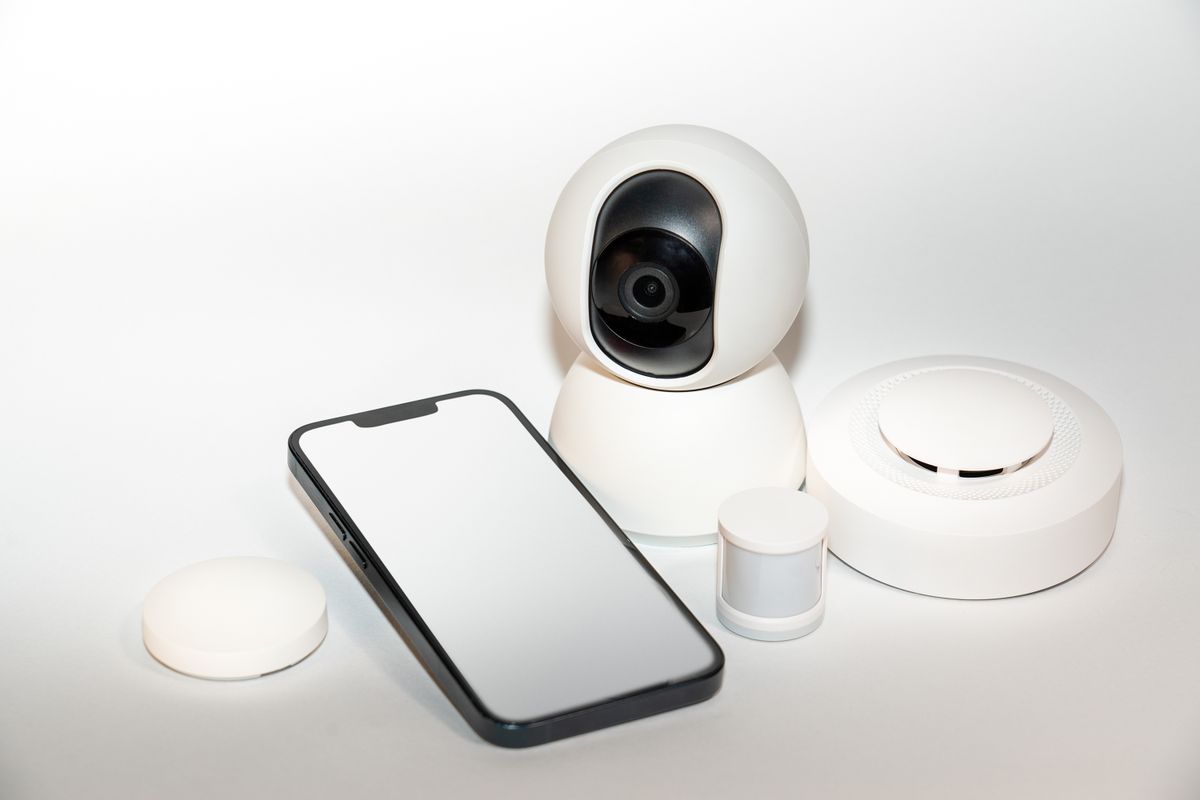
Yes, the Imou Life app lets the primary account share the camera with other accounts, so family members can view the live feed from their own phones.
Conclusion
The Imou Ranger 2 setup process is short once you understand the two things that usually cause trouble: the WiFi band and the QR code distance. Power the camera on, connect your phone to 2.4GHz, scan the QR code shown in the app, and choose your storage option. Keep the firmware updated afterward, and the camera should run reliably for a long time with very little maintenance.
Ryan holds a degree in Computer Science and has spent over 20 years working hands-on with PCs, software, and consumer gadgets, including home security cameras. He writes practical, no-nonsense guides at softwaredriverdownload.com to help readers avoid common setup mistakes.