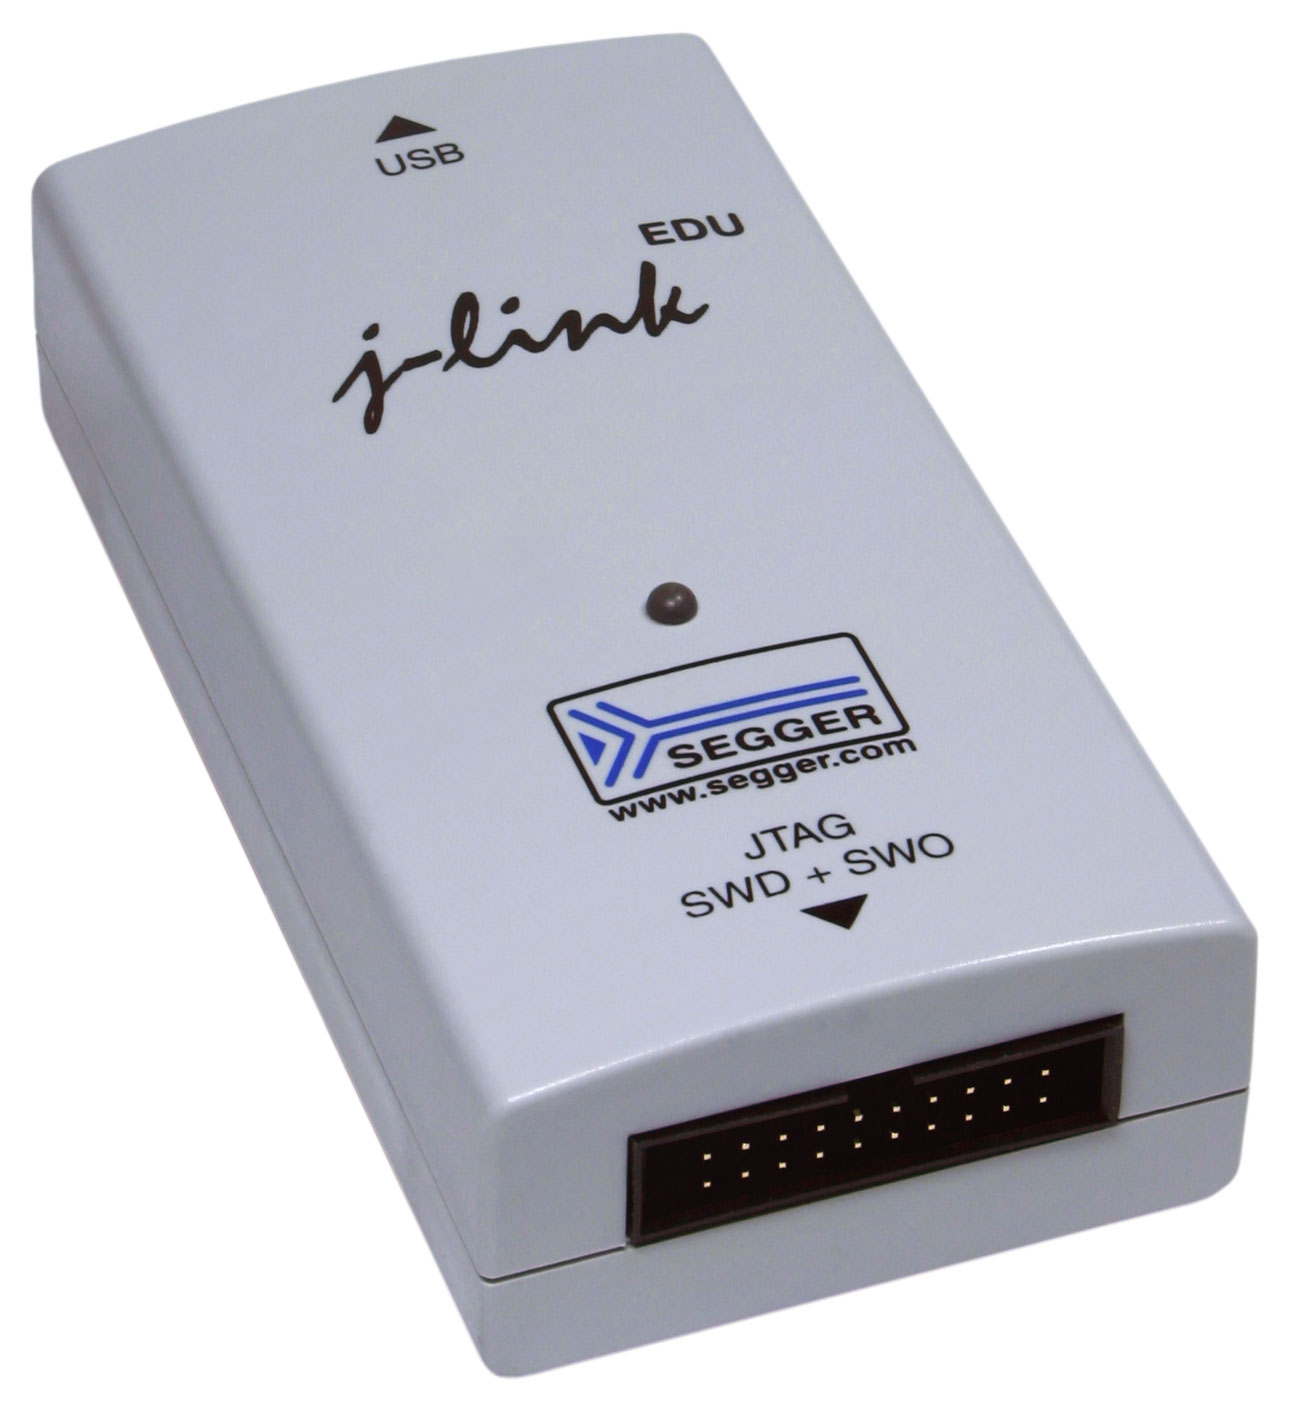
The SEGGER J-Link driver comes bundled with the free J-Link Software and Documentation Pack from SEGGER, and installing that single package gets Windows to recognize the debug probe and installs the USB driver, J-Link Commander, and RTT tools all at once. Skipping this installer and just plugging in the probe is the most common reason it shows up as an unknown device.
| Spec | Detail |
|---|---|
| Applies To | J-Link BASE, PLUS, ULTRA+, PRO, EDU, EDU Mini |
| Publisher | SEGGER Microcontroller |
| Driver Package | J-Link Software and Documentation Pack (includes USB driver) |
| Version | Always use the latest pack version; older probes stay backward compatible |
| File Size | Roughly 200–300 MB for the full pack |
| Requirements | Windows 10 and Windows 11, 32-bit and 64-bit |
I have used a J-Link EDU Mini for personal ARM Cortex-M projects and a full J-Link BASE at work for production debugging, and in both cases the install process was identical: run SEGGER’s own installer first, then connect the probe, and it just works. The only real issues I have run into came from installing IDE-bundled J-Link drivers (from Keil or IAR) that were an older version than what a newer probe needed.
Why it happens
Probe plugged in before the software pack was installed, so Windows attached a generic driver
Older J-Link driver bundled inside an IDE conflicts with a newer probe’s firmware
Unofficial/cloned J-Link hardware not recognized by genuine SEGGER firmware checks
USB power delivery issue on unpowered hubs or long cables
How to fix
Download and run the full J-Link Software and Documentation Pack from SEGGER before plugging in the probe
Update to the latest pack version rather than relying on the driver bundled inside Keil, IAR, or STM32CubeIDE
Confirm your probe is a genuine SEGGER unit — the firmware update process actively refuses unofficial clones
Use a short, direct USB cable into the laptop rather than a hub, especially for higher-current probes like J-Link PRO
Step-by-Step Install
- Go to SEGGER’s official J-Link downloads page and grab the current Software and Documentation Pack for Windows
- Run the installer as Administrator and accept the driver signature prompts
- Reboot if prompted (usually not required, but recommended after a fresh install)
- Connect the J-Link probe via USB
- Open J-Link Commander (included in the pack) to confirm the probe is detected and reports its serial number and firmware version
Per Priya N., who is an Embedded Software Engineer at a medical device company, “SEGGER’s driver install has been the most painless part of our whole toolchain — run the pack once, plug in the probe, done, across every Windows laptop we have issued the team.”
Manual Install via Device Manager (Fallback)
On a locked-down corporate laptop where the graphical installer is blocked by policy, you can still get the probe working manually. Extract the driver files from the pack’s USBDriver folder, open Device Manager, find the unrecognized J-Link entry, choose Update Driver > Browse My Computer for Drivers, and select the extracted folder directly. This installs the WinUSB-based driver without running the full installer.
J-Link EDU vs BASE vs PRO
| Model | Speed | Use Case | Licensing |
|---|---|---|---|
| J-Link EDU / EDU Mini | Standard | Education and non-commercial use | Non-commercial only |
| J-Link BASE | Standard | General commercial development | Commercial |
| J-Link PRO | Faster, more RAM buffer | Professional debugging, trace features | Commercial |
Frequently Asked Questions
Where do I download the J-Link driver?
From SEGGER’s official downloads page — the J-Link Software and Documentation Pack includes the Windows driver plus all the debug tools.
Does J-Link EDU work the same as J-Link BASE?
Functionally yes, same driver and software pack, but J-Link EDU is licensed strictly for non-commercial and educational use.
Why does J-Link Commander say “probe unknown”?
This usually means the probe is an unofficial clone that the genuine firmware checks reject, or the driver version is too old for a newer probe’s firmware.
Can I use J-Link with STM32CubeIDE or Keil?
Yes, both support J-Link as a debug probe, but install SEGGER’s own pack first so the IDE uses the newer driver rather than an outdated bundled one.
Is the J-Link driver signed for Windows 11?
Yes, current packs are properly signed and install without issues on Windows 11, including Secure Boot enabled systems.
How do I update J-Link firmware safely?
Open J-Link Commander, type upgrade, and confirm when prompted. Do not unplug the probe while a firmware update is in progress — interrupting it partway through can leave the probe in a state where it needs to be sent back to SEGGER for recovery.
My J-Link worked yesterday but is not detected today — what changed?
A silent Windows Update sometimes replaces a USB driver association. Reopen the J-Link Software and Documentation Pack installer and run it again over the existing install — a repair install fixes this far more often than uninstalling and starting over.
Using J-Link with RTT for Real-Time Debug Logging
One reason J-Link stays popular with embedded developers is SEGGER’s Real Time Transfer (RTT) feature, which streams printf-style debug output from the target microcontroller over the same debug connection, with far less overhead than a traditional UART logging setup. Getting RTT working is mostly a software-side configuration step once the driver itself is installed correctly.
- Add SEGGER’s RTT source files to your embedded project and call
SEGGER_RTT_printf()in place of a UART print function - Launch J-Link RTT Viewer (included in the software pack) while the target is running
- Confirm the correct target device is selected in RTT Viewer — a mismatched device name is the most common reason RTT shows no output even though the debug connection itself works fine
Conclusion
The single biggest mistake with J-Link setup is plugging in the probe before installing SEGGER’s own software pack, which lets Windows attach the wrong generic driver. Install the pack first, keep it updated rather than relying on an IDE’s bundled version, and confirm your probe is genuine if J-Link Commander refuses to recognize it. Once installed correctly, J-Link tends to be one of the more reliable tools in an embedded developer’s toolbox.
Ryan T. is a PC hardware enthusiast with 15+ years of experience fixing drivers and troubleshooting embedded and desktop hardware. He writes for softwaredriverdownload.com, testing each fix personally before publishing it.